Bleach is a go-to household cleaner, famous for its strong disinfecting muscle and knack for whitening just about anything. This naturally raises the important question: does bleach damage grout? People tend to reach for it in bathrooms and kitchens, which makes understanding its effects on grout crucial.
What Grout Is and Why You’d Use It
Grout is that thick, paste-like material that fills the tiny gaps between tiles. It not only makes everything look sharp and neat with clean, even lines but also acts as the unsung hero keeping your tiles firmly in place and blocking moisture and dirt from sneaking underneath.
Common Types of Grout and What Makes Each One Tick
Grout comes in several varieties each with its own perks tailored to different tiling needs. Cementitious grout is the crowd favorite made from Portland cement and sand. It’s what you’ll see most often. Epoxy grout is the tough cookie. More durable and resistant to chemicals, it’s like the bodyguard of grouts. Then there’s urethane grout which strikes a nice balance between flexibility and strength. It’s the steady middle child.
Cementitious grout is the classic mix of cement and sand. It is often chosen because it is affordable but a bit porous and can stain if you are not careful.
Epoxy grout is made from resin and is known for its toughness and chemical resistance. It usually resists bleach better than other types.
Urethane grout offers a good balance by combining flexibility with toughness. This makes it resistant to cracks and it hardly soaks up water.
Sealed grout has a protective layer that keeps moisture and chemicals away. In contrast, unsealed grout absorbs liquids quickly like a thirsty sponge.
Chemical resistance varies by type. Epoxy stands up well to bleach, while cementitious grout can degrade over time when exposed to harsh chemicals.
Understanding Bleach What It Is and How It Works Without the Science Overload
Bleach is mostly made up of sodium hypochlorite and acts as a powerful oxidizer. It is a go-to for disinfecting and banishing stubborn stains. When you slap some bleach onto a surface, it goes to war against organic nasties like mold, mildew and bacteria while whitening stains and wiping out germs. Its chemical magic breaks apart the molecular bonds in these troublemakers, turning it into a super effective cleaner.
Does Bleach Damage Grout? A Closer Look at the Science Behind It
Bleach can be a wildcard when it comes to grout. Cementitious grout, especially older unsealed kinds, tends to show chemical wear and discoloration after taking a bleach bath. Epoxy grout usually stands its ground better and shrugs off bleach damage like a champ. You’re more likely to see surface etching or weakening, or the grout slowly wearing away when bleach is used improperly in very high concentrations or left sitting too long.
Bleach often causes discoloration by making dark or colored grout appear lighter or patchy and uneven.
The cement in grout doesn’t respond well to frequent bleach use because it tends to break down chemically over time.
Bleach can wear away or degrade grout sealants, which means their protective effect starts to fade.
Using bleach repeatedly can gradually weaken the grout’s structure, causing it to erode or even crumble.
Colored grout usually reacts more sensitively to bleach stains than white grout, which might lighten but rarely darkens.
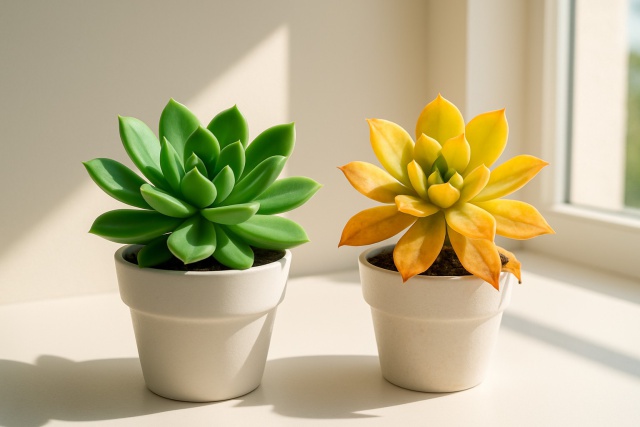
Example of grout damage and discoloration caused by improper bleach use on tiled surfaces.
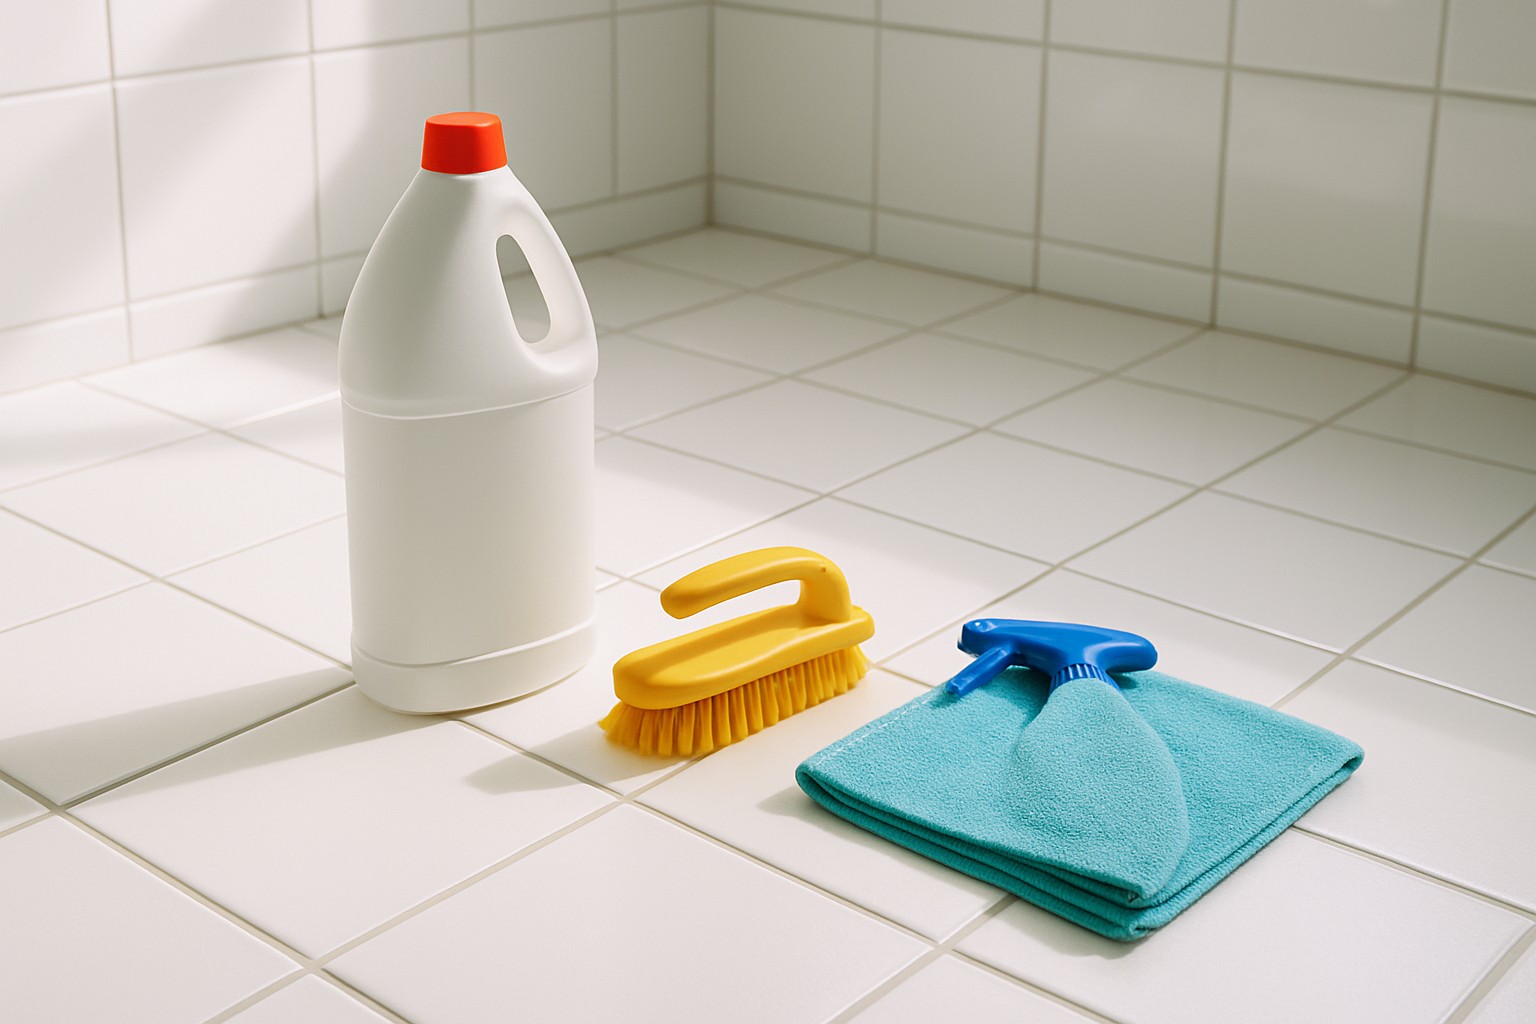
Guidelines for Using Bleach Safely on Grout
Bleach can be a real lifesaver when it comes to keeping grout sparkling clean, but it’s definitely not something to be taken lightly. I’ve found that a bit of caution goes a long way to avoid any unwanted mishaps. Before diving in, make sure your space is well-ventilated—open those windows and doors so the fumes don’t overpower you. It’s a good idea to slap on some gloves too; your skin will thank you later. When applying bleach, go easy—dilute it properly and test a small patch first to steer clear of any discoloration or damage. Patience here is key, as rushing the process can lead to more harm than good. And finally, after you’ve let the bleach work its magic, rinse thoroughly with water to remove any lingering chemicals. Trust me, your grout and fingers will be grateful in the long run!
Using bleach on grout requires careful handling to prevent damage. Dilute the bleach to a gentler strength and test it on a small hidden patch first. Make sure the area is well-ventilated because fresh air helps. Wearing protective gloves and eyewear is a smart choice to stay safe. When applying, move slowly and steadily with a brush or sponge. Let it sit for a while, then rinse thoroughly to remove any residue.
Dilute bleach with water to about a 1:10 ratio to reduce the strength of the chemicals. 2. Test the mixture on a small, hidden grout spot first to ensure it won’t cause any unwanted surprises. 3. Apply the bleach gently using a soft brush or sponge and try to avoid splashing it onto the tiles because nobody likes bleach spots where they don’t belong. 4. Let the bleach sit on the grout for 5 to 10 minutes but no longer since overdoing it could cause more harm than good. 5. Rinse the area thoroughly with clean water to wash away all the bleach and neutralize its effects. You want to be sure it’s completely gone. 6. If the grout sealant looks a little tired after cleaning, apply a fresh coat to keep it protected over time.
Options for Cleaning Grout Without Bleach (Because Sometimes You Just Want to Keep It Gentle)
Bleach can certainly get the job done, though I have often found there are safer alternatives that usually work just as well for cleaning grout. Baking soda and vinegar team up as a natural duo, combining gentle scrubbing with a bit of acidic punch. Hydrogen peroxide steps in as a kinder oxidizer, brightening grout without the drama of harsh chemicals. Commercial pH-neutral grout cleaners zero in on stains while steering clear of any corrosive mischief, and steam cleaning offers a chemical-free route to sanitize—no nasties involved.
A homemade paste whipped up from baking soda and vinegar gently tackles grime without leaning on those harsh chemicals that can be a bit much.
Hydrogen peroxide acts as a mild bleaching agent, usually playing nice with many grout types and stubborn mold stains alike.
Commercial pH-neutral grout cleaners are designed to lift away stains while giving your grout the gentle care it deserves.
Steam cleaning uses high-temperature steam to zap germs and loosen dirt, all without tossing in a single chemical.
Enzymatic cleaners get to work by biologically breaking down organic stains, which often means fewer worries about chemical exposure.
Common Misunderstandings About Bleach and Grout
Sometimes, the advice floating around about bleach and grout can be a bit misleading, and I’ve seen individuals get tripped up more times than I can count. Let us clear the air on some of the common mix-ups that tend to swirl around in conversations and DIY forums.
Bleach is often thought of as the trusty sidekick for grout cleaning but it’s not always the silver bullet. Many people assume bleach will safely whiten every kind of grout or that if grout gets damaged it must mean bleach was used the wrong way. The reality is a bit more nuanced—bleach’s effect really depends on the type of grout and how you apply it.
Bleach isn’t always the best choice, especially for stubborn mineral stains or resin-based grouts.
It doesn’t work well with all grout types because colored grouts bleach unevenly and often leave patchy spots.
Grout damage can happen for many reasons beyond bleach. Improper sealing, acid-based cleaners or scrubbing too hard can all cause problems.
Use bleach carefully since it can damage some tile surfaces, especially natural stone which is sensitive.
Bleach isn’t a magic solution that keeps mold and mildew away forever. Regular cleaning and moisture control are the key to prevention.
How to Tell If Bleach Has Ran Roughshod Over Your Grout
Grout damage from bleach often shows up in a few telltale ways like a crumbly texture, faded color or a surface that’s become oddly porous. You might even catch mold making a stubborn comeback shortly after cleaning. This usually means the grout’s strength has taken a hit.
Crumbly texture that is clearly letting the grout down.
Grout color has faded or looks unevenly bleached, like it forgot to show up to the party.
A grout surface that feels rough or uneven compared to the smoother nearby sections — not exactly the welcome mat you want.
Mold making an unwelcome comeback despite your best cleaning efforts, as if it just will not take a hint.
Now soaking up moisture like a sponge, which is never a good sign.
Tips for Repairing and Caring for Grout After Using Bleach
If you're wondering does bleach damage grout and it's already done a number on yours, don't despair—there are ways to bring it back to life. First, neutralize any leftover bleach, then tackle the cracks with a grout repair kit. Finally, seal it to keep future damage at bay.
Rinse thoroughly to wash away any stubborn bleach residue. Then follow up with a gentle vinegar-water solution. Your grout will thank you.
Patch up those cracks or holes using a premixed grout filler that matches your grout color because nobody likes a mismatched mess.
Once the repairs are completely dry, slather on a good quality grout sealant to guard against moisture and pesky stains.
For future cleaning, ditch the bleach and stick with mild cleaners that are gentle on your grout’s delicate nature.
Keep an eye on your grout regularly. Catching damage early means less hassle down the road and a happier bathroom overall.
FAQs
Can I use bleach on colored grout?
It’s usually best to avoid using bleach on colored grout. Bleach tends to fade vibrant colors or leave patchy spots because it removes pigments with its strong oxidizing effect. To keep your grout looking sharp and even, I recommend using a pH-neutral commercial cleaner or a baking soda paste instead. These options work well without any issues.
How long is it safe to leave bleach on grout?
You should only leave bleach on grout for about 5 to 10 minutes. Leaving it on longer with a strong bleach mix can damage the grout by breaking down its cement base, wearing away sealants and causing unpleasant etching. Be sure to rinse thoroughly with clean water when you are finished. Don’t skip the rinse.
What is the safest way to dilute bleach for cleaning grout?
A good rule of thumb is to mix one part bleach with ten parts water. This ratio is strong enough to disinfect and tackle mildew while gentle enough to protect the grout. Make sure to test this mixture on a small hidden grout patch first. This helps avoid unexpected discoloration or damage later on.
My grout feels crumbly after cleaning with bleach; what should I do?
If your grout feels crumbly it likely means the bleach has weakened its structure. Start by neutralizing any remaining bleach with a mild vinegar solution. That simple trick can really help. Then, use a grout repair kit to fix the damaged areas. Once everything is dry and solid again, apply a fresh sealant to protect against moisture and future damage.
Is there a type of grout that is completely safe to clean with bleach?
Epoxy grout is tougher than most and handles chemicals better so it can tolerate bleach fairly well. However, don’t get too comfortable. No grout is invincible if bleach is left on too long or used too strongly. Even epoxy grout should be treated with diluted bleach and rinsed well afterward to stay in great condition.