This guide takes you through installing your Ring Doorbell to ensure a crystal-clear view and top-notch performance without any headache.
Aim for about 48 to 54 inches when mounting your doorbell. This height usually ensures clear facial recognition and reliable motion detection without a fuss.
Take the guesswork out of installation by following the straightforward step-by-step process in the Ring app. It includes a live preview so you can find the perfect spot with ease.
Tackle common hurdles like steps or obstacles and mounting on awkward surfaces with some down-to-earth tips that work.
Feel free to tweak the height to fit accessibility needs or quirky porch layouts while keeping your doorbell’s performance sharp.
Don’t overlook handy accessories like wedge mounts. They can seriously improve your doorbell’s viewing angle and include another level of security.
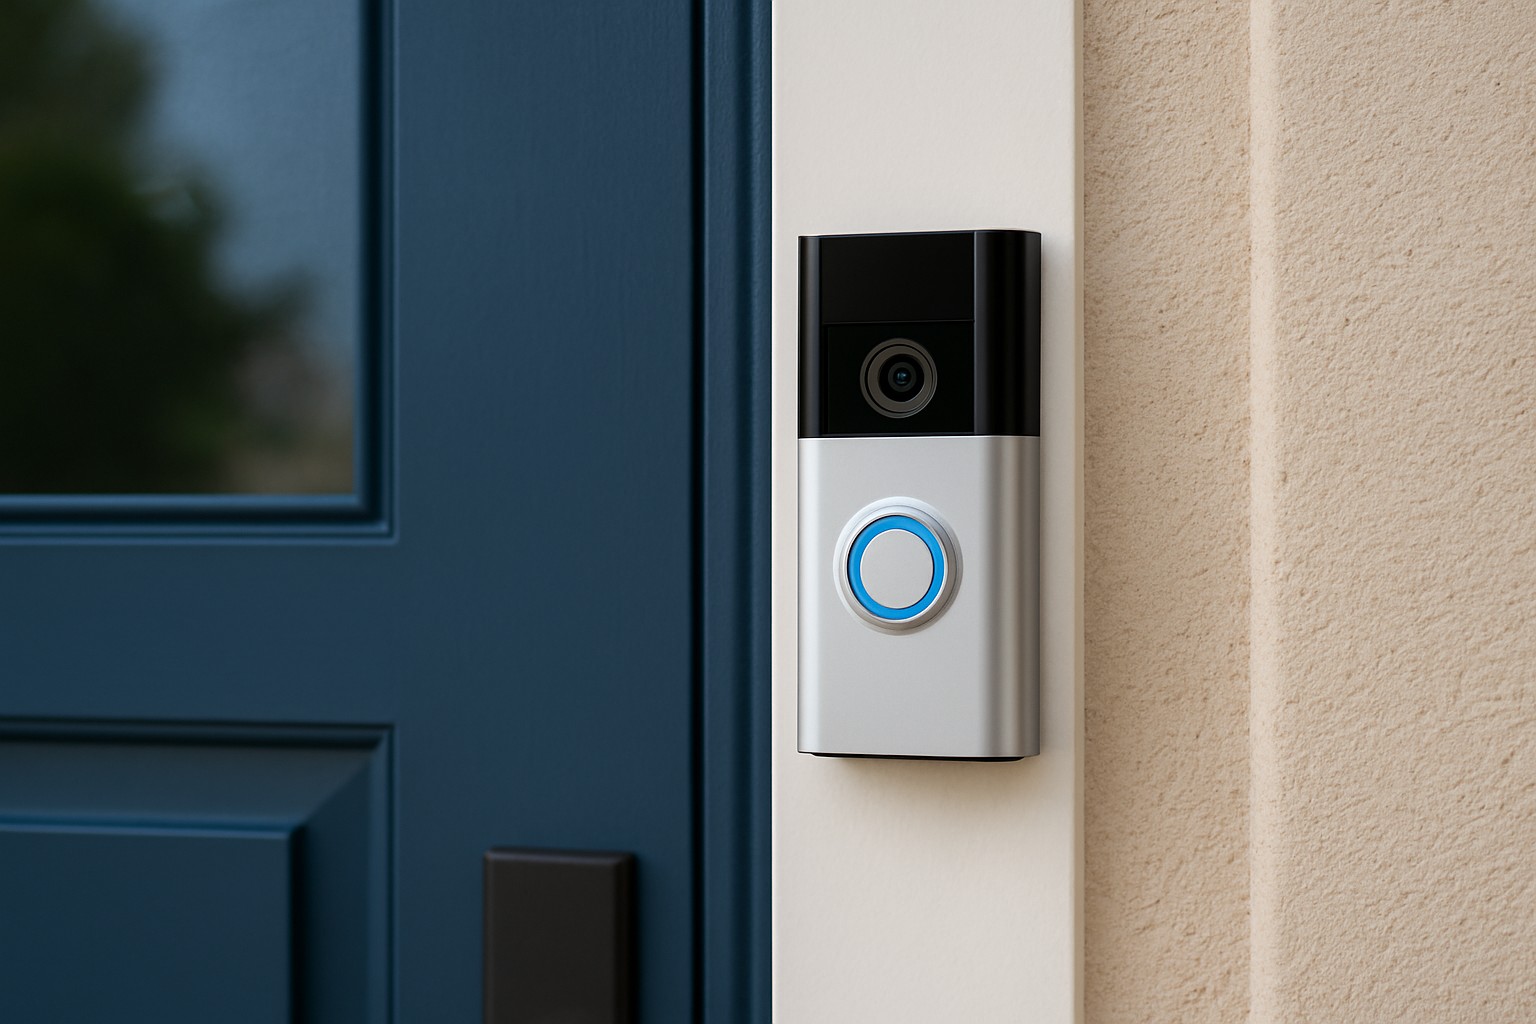
Figuring out how high to install your Ring Doorbell can make or break how well it records video, picks up motion and covers your doorstep.
Why the Height of Your Ring Doorbell Really Makes a Difference
Where you pop your Ring Doorbell on the wall really makes a difference in how well it does its job. If you go too high the camera misses important stuff like faces or packages on the doorstep. Mounting it too low means you are mostly getting feet or a weird perspective that makes recognizing people challenging. Finding the right height gives you the best angle for looking at things and sharpens facial recognition. It also keeps motion detection on point and delivers clearer video—basically everything you want for solid home security.
Best Height to Install Ring Doorbells Getting It Just Right
Somewhere between 48 and 54 inches off the ground is usually recommended for mounting your Ring Doorbell. This sweet spot tends to capture visitors' faces clearly, giving you a solid view while covering a decent chunk of your doorstep area. Plus, it lands the motion sensors right where they can pick up typical foot traffic without sending you on a wild goose chase with false alarms.
Feature
Recommended Height Range
Explanation / Benefit
Face Capture
48 - 54 inches (4 - 4.5 feet)
Makes sure visitors’ faces come through nice and clear for ID — no guessing needed
Package Detection
12 - 24 inches (1 - 2 feet)
Snaps up packages placed near the doorbell with ease, so nothing sneaky gets missed
Motion Detection
48 - 54 inches (4 - 4.5 feet)
Puts the motion sensor right where it counts to catch movement without false alarms
Doorbell Button
Around 48 - 54 inches
Hits the sweet spot height-wise for pretty much everyone, from kiddos to adults
Night Vision View
48 - 54 inches
Captures crisp images at night while avoiding any pesky obstructions
Step-by-Step Guide to Measuring and Installing Your Ring Doorbell at Just the Right Height
Start by measuring from the floor up to your preferred installation height between 48 and 54 inches. A tape measure is your best friend to keep things accurate.
Make a clear mark on the wall or door frame where the bottom of the mounting bracket will sit. A pencil works perfectly for this.
Open the Ring app and use its live preview feature by temporarily holding the doorbell at your mark. This trick lets you double-check the field of view and make sure both faces and packages are in the clear.
If the shot isn’t quite right, adjust your mark up or down a smidge then peek again with the app until it feels just right.
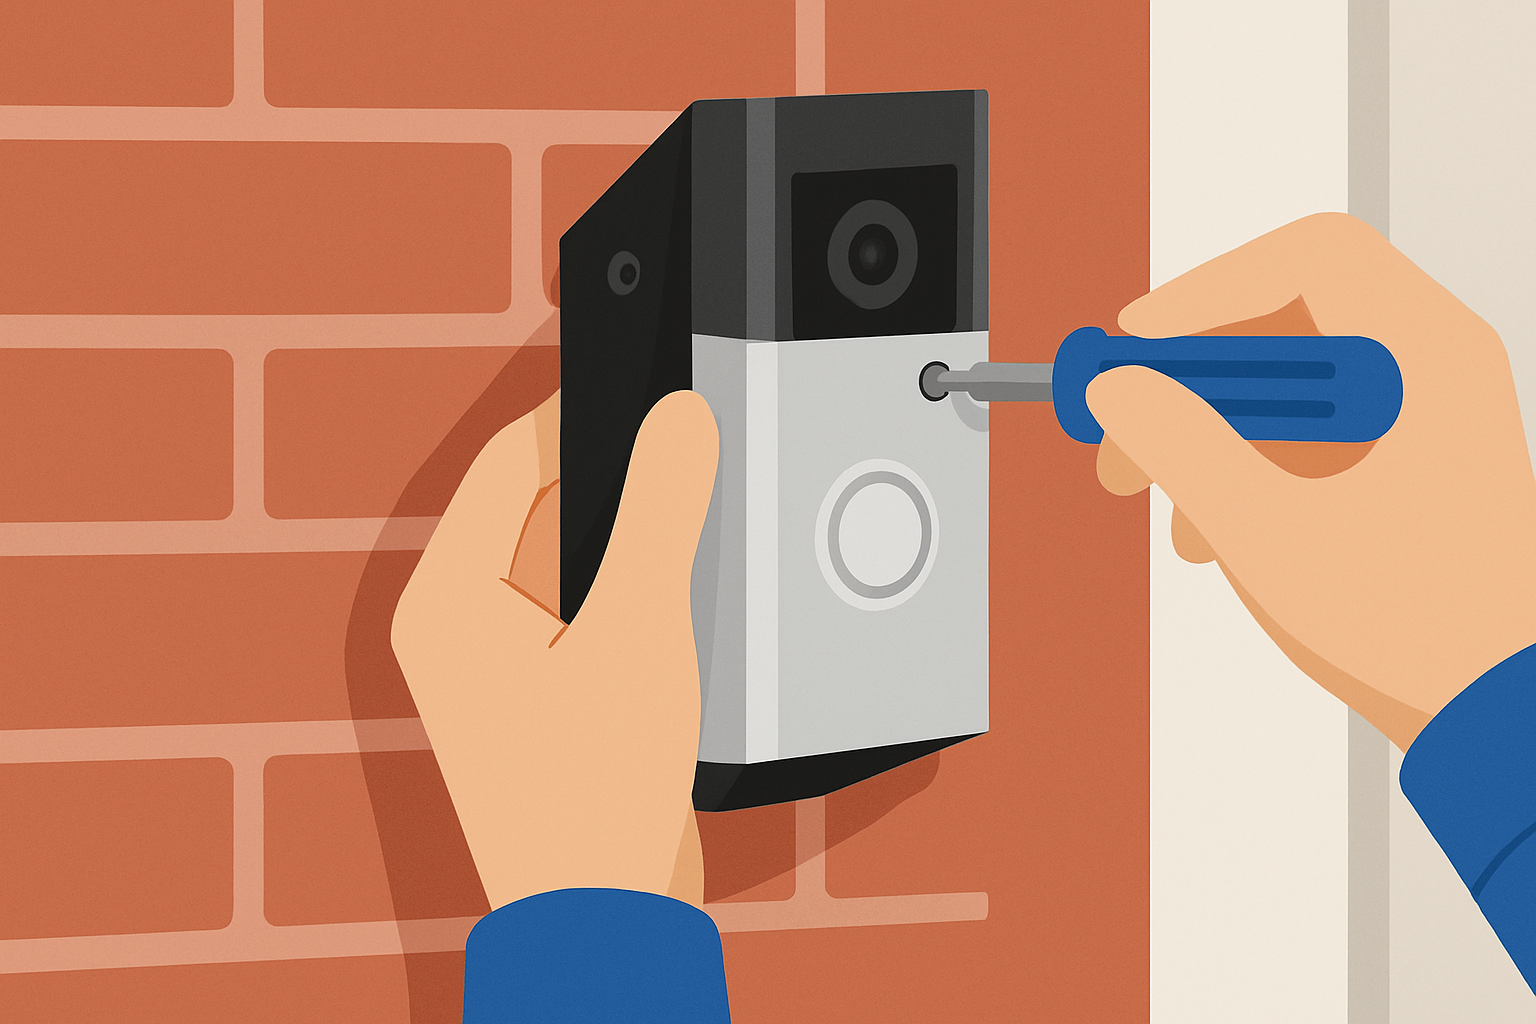
Carefully drill holes where you marked using the mounting template Ring provides. Watch out for any wiring or siding lurking behind.
Secure the mounting bracket with screws, snap the Ring Doorbell into place and test the connection to ensure everything’s working smoothly.
Measuring and marking the ideal height on the wall before installing the Ring Doorbell
Make sure your Ring Doorbell captures all the important details like faces and packages by setting it up with a clear, unobstructed view. Try to avoid placing it behind plants or under overhangs because those spots can cause trouble. Also, check the angle carefully. If it’s too sharp, it can reduce image quality or cause the motion detection to miss things happening close to the ground.
Common Challenges and How to Tackle Them
Front doors with uneven ground or a few steps can throw off the standard height measurements. This often leaves your doorbell too high or too low for visitors.
Plants or decorations sometimes block the camera’s view or motion sensors unexpectedly.
Direct sunlight hitting the camera lens can cause glare which hurts video quality.
Motion detection can be finicky. Sometimes it’s too eager, other times it’s practically napping. A bit of tweaking usually fixes it.
Mounting surfaces like brick, stucco or vinyl siding often require special tools or anchors to keep everything secure.
You might want to tweak the installation height so it lines up better with the step elevations, or slide the doorbell sideways to dodge any pesky obstructions. If glare is giving you grief, using wedge mounts to angle the camera just right can be a real lifesaver.
Adjusting Height to Fit Particular Requirements A Practical Approach
Certain homes come with unique quirks that call for tweaking the doorbell height. Take places with elderly residents or wheelchair users for example—it’s often a relief when the doorbell isn’t hanging way up high but comfortably within reach. On the flip side, if there’s a flight of stairs climbing up to the porch you might want to pop that doorbell a little higher so it stays at visitors’ eye level.
Aim to install the doorbell around 36 to 42 inches high. This height keeps it wheelchair accessible and still lets the face detection do its job without a hitch.
If you have an elevated porch or some steps, it is a smart move to mount the doorbell a bit higher than usual or grab an angled wedge—this helps avoid those awkward moments when the camera ends up staring at feet instead of faces.
Give the camera a slight downward tilt to make sure it catches packages sitting just below the doorbell’s level. You don’t want those deliveries slipping under the radar.
Adjust the doorbell’s position and fine-tune the motion zones to cut down on false alerts from pets. Keeping those video clips relevant means less wasted time watching the dog chase its tail on camera.
Handy Accessories That Make Installation and Viewing a Breeze
Wedge mounts let you tilt your Ring Doorbell up or down to find the perfect viewing angle—especially useful if your wall or porch isn’t straight.
Extension kits let you nudge the doorbell left or right to dodge blind spots or obstructions that spoil the view.
Surface adapters make mounting easy on tricky surfaces like brick or stucco so you don’t have to worry about uneven spots causing a wobbly installation.
Security screws add extra defense against tampering to keep your doorbell safe from unwelcome hands.
Adding these accessories when you install your Ring Doorbell can truly amp up its coverage and security while blending seamlessly with your home's style.
Ring Doorbell installed on a brick wall using wedge mount and security screws for optimal angle and security
Final Checks and Testing Once Installation Is Complete
Alright, now that the heavy lifting is behind you, it is time for the all-important final checks and some good old-fashioned testing. This step might not be the most thrilling part of the process, but trust me—catching issues here saves you a world of headaches down the road. So, take a deep breath, roll up your sleeves, and let us make sure everything is working just the way it should, no surprises hiding in the shadows.
Fire up the Ring app and peek at the live video feed to ensure the picture quality is sharp and the door area is nicely framed you don’t want to miss a thing.
Stroll near the doorbell to test those motion zones, and feel free to tweak the sensitivity settings in the app if you find yourself getting too many false alarms.
Give the night vision a spin by checking the doorbell in dim light or after dark to see if those infrared sensors are doing their job and capturing clear images.
Tinker with the volume and notification settings so the alerts and chimes suit your style whether you want them loud enough to startle or just a gentle nudge.
Press the doorbell button and double-check that it rings inside your home and your phone lights up with a notification because nothing’s worse than missing your own doorbell.
Take a leisurely full walk-around to make sure all entry points are covered and that nothing’s blocking the camera’s view, giving you peace of mind from every angle.
Wrapping up these final checks, including knowing how high to install a Ring Doorbell, is like giving your device a quick once-over to make sure it truly fits your home's security and convenience needs.
FAQs
What if my front door has steps, making the recommended height seem too low?
If your home has an elevated porch or a few steps, you might need to mount the doorbell higher than the typical 48-54 inches to get a clear view of your visitors' faces. Using an angled wedge mount helps here. It lets you tilt the camera downward so it keeps an eye on the space in front of your door and any packages on the ground.
Can I install my Ring Doorbell lower for wheelchair accessibility?
You can install the doorbell lower, around 36-42 inches, to make it easier to reach. While that’s below the usual height, pairing it with a wedge mount lets you angle the camera upward so you don’t lose sight of faces. It’s a win-win: better accessibility without losing a good view of who’s ringing the bell.
My motion detection is giving me false alerts. How can I fix this?
False alerts often happen because the motion sensor’s sensitivity is too high or the zone settings are not quite right. Once everything is installed, open the Ring app to tweak the Motion Sensitivity slider. More importantly, draw custom Motion Zones to block off spots where pets wander by, cars pass, or neighbors stroll. Fine-tuning here can seriously reduce annoying notifications that make you want to hit snooze.
What tools or accessories do I absolutely need for a secure installation?
Beyond the screws that come in the box, you’ll want a drill, tape measure, and pencil on hand. If you’re dealing with tough surfaces like brick or stucco, a masonry drill bit and anchors will be your best friends. A wedge mount is great for getting the perfect camera angle. Security screws are a clever addition to keep your setup tamper-proof, especially if your doorbell gets plenty of foot traffic.
The live preview in the app looks good, but the video is blurry at night. What is wrong?
Blurry night vision usually happens when something reflective or a bright light is too close to the lens. Make sure your doorbell isn’t facing a window, shiny house numbers, or a nearby wall that might cause trouble. Give the lens a gentle wipe with a soft dry cloth—it’s amazing what a little cleaning can do. If it’s still fuzzy, check the Night Vision settings in the Ring app to make sure it’s set to 'Auto.'