Repairs
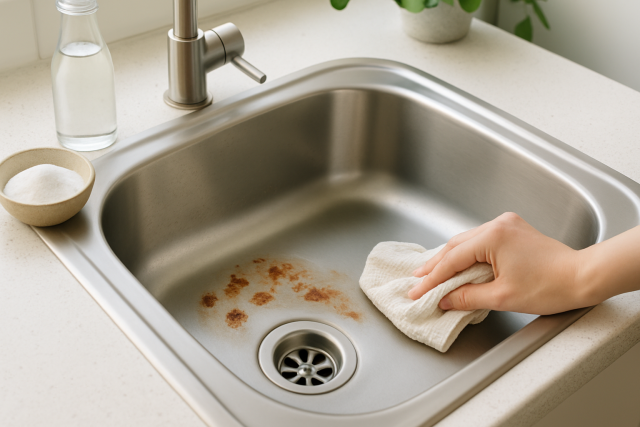
How to Clean Rust From Stainless Steel Sink Without Scratching
Discover easy, safe methods to remove rust from your stainless steel sink without damaging its surfa...
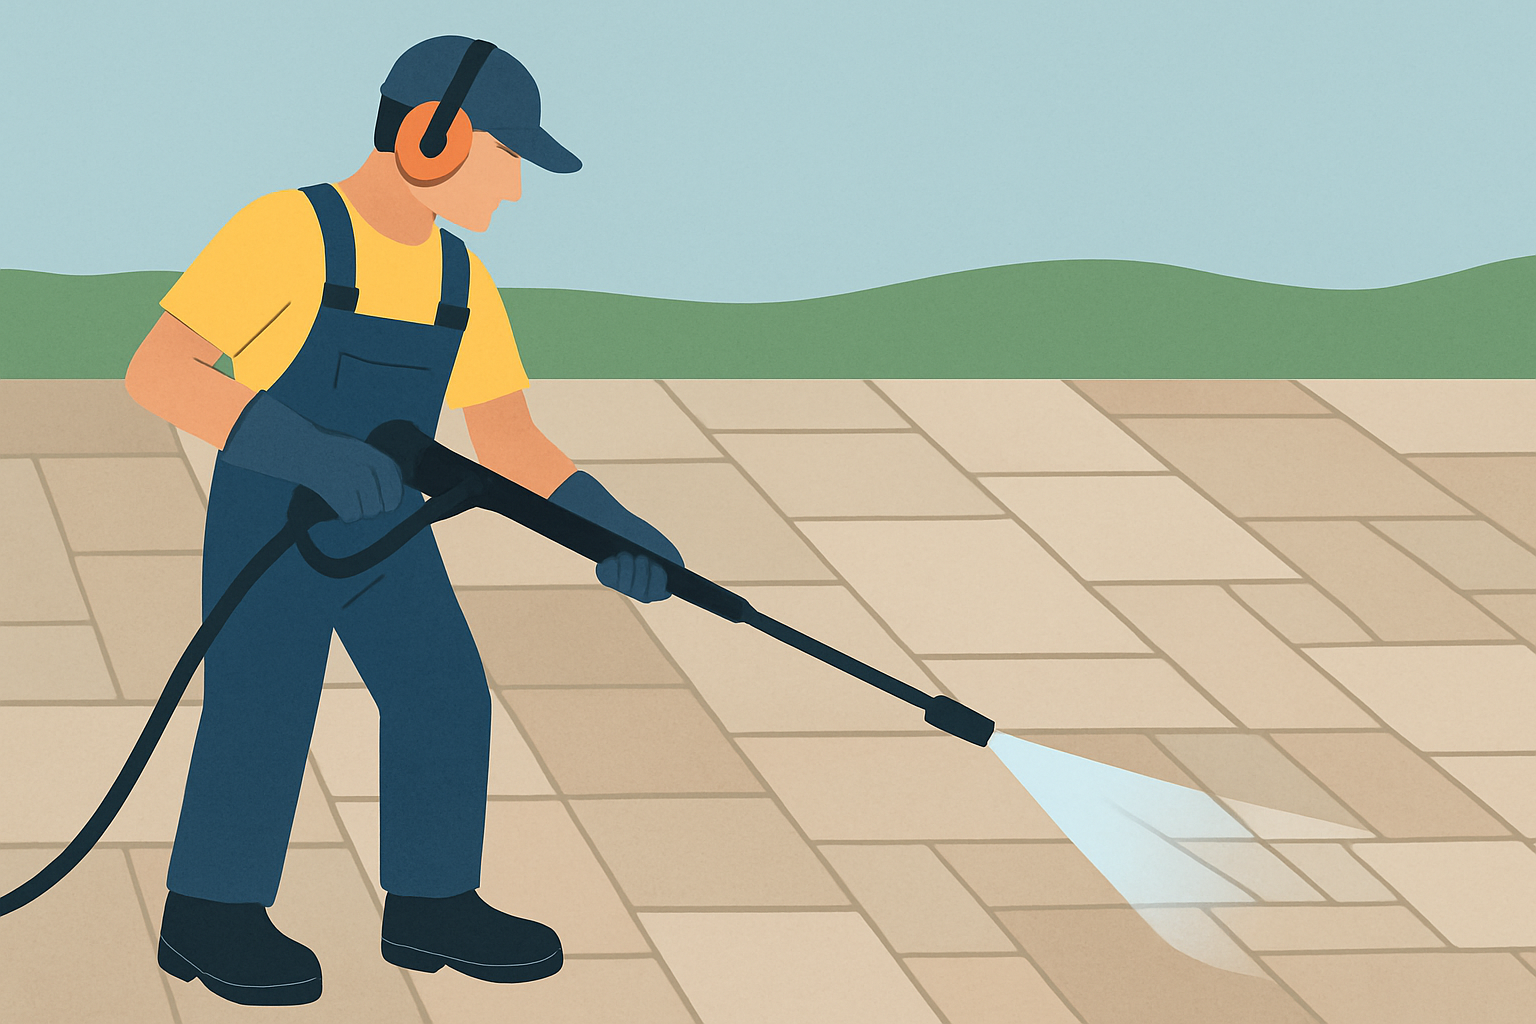
Pressure washing stone surfaces can be a fantastic way to bring back their natural charm by washing away dirt, moss and algae as well as stubborn stains. It can leave behind unwanted souvenirs like surface etching, chipping or new stains—especially when dealing with more delicate stones. Whether you’re a homeowner tackling a weekend project or a pro in the field, knowing the right methods is absolutely vital to preserving both the stone’s strength and its good looks.
Different kinds of natural stone often find their place outdoors and each one has a unique personality when it comes to handling a pressure wash. Factors like porosity, hardness and surface texture play a key role in how much pressure a stone can safely take without damage. For example, dense stones such as granite tend to be strong and silent types that hold up well. Softer stones like limestone are more delicate and likely to show damage or pick up stains if you’re not careful.
Environmental elements like a stone's age and how much it has weathered all play a role in how it handles pressure washing. Older stones that have taken a beating from harsh weather often turn brittle. Sealants can help toughen them up but tend to wear out over time.
Careful preparation really is the secret sauce to pressure washing without wrecking anything. Spending time inspecting the surface up close and clearing loose debris can save you from costly mistakes down the road. Testing a small hidden spot and picking the right protective measures also help.
The real trick to pressure washing stone without leaving marks is choosing the right pressure washer settings by balancing PSI (pounds per square inch) and GPM (gallons per minute). Add the right nozzle tips and keep a safe distance and you’re halfway there. Higher PSI and narrow nozzle tips tend to cause trouble because they can etch the surface especially if the stone is porous. Instead, opt for a wide-angle nozzle and use moderate pressure. Keep the wand moving steadily. This combination cleans evenly without wearing down your stone’s charm.
| Stone Type | Recommended PSI Range | Nozzle Angle | Flow Rate (GPM) | Distance from Surface |
|---|---|---|---|---|
| Granite | 1200 to 2000 PSI | 25° to 40° | 2.0 to 3.0 GPM | 18" to 24" |
| Limestone | 800 to 1200 PSI | 40° | 1.5 to 2.0 GPM | 24" to 30" |
| Sandstone | 800 to 1400 PSI | 25° to 40° | 2.0 to 2.5 GPM | 20" to 30" |
| Slate | 1000 to 1500 PSI | 25° to 40° | 2.0 GPM | 18" to 24" |
| Marble | 500 to 1000 PSI | 40° | 1.5 GPM | 24" to 36" |
| Travertine | 800 to 1200 PSI | 40° | 1.5 to 2.0 GPM | 24" to 30" |
Using low-pressure settings is key when cleaning porous and soft stones, as it helps avoid surface damage or water sneaking in and leaving stubborn stains behind. High-pressure washing can blast away dirt in no time, but it often comes with the downside of tiny cracks or loosening stone particles—both of which can quietly chip away at the stone's strength and charm over time.
Choosing the right cleaning agent is just as important as setting up your equipment properly. Stone-friendly cleaners tend to have a neutral pH and are biodegradable and gentle. They are crafted to lift stains without harming the stone’s natural look.
Use a low-pressure spray or a soft brush to gently spread cleaning solutions evenly, then let them sit for about 5 to 10 minutes just long enough to work their magic and loosen up the dirt. After that, give it a good rinse with clean water to stop any leftover residue from causing the surface to look dull or inviting more grime down the line.
Taking a careful step-by-step approach really does the trick when it comes to cleaning stone effectively, all while keeping it in tip-top shape.
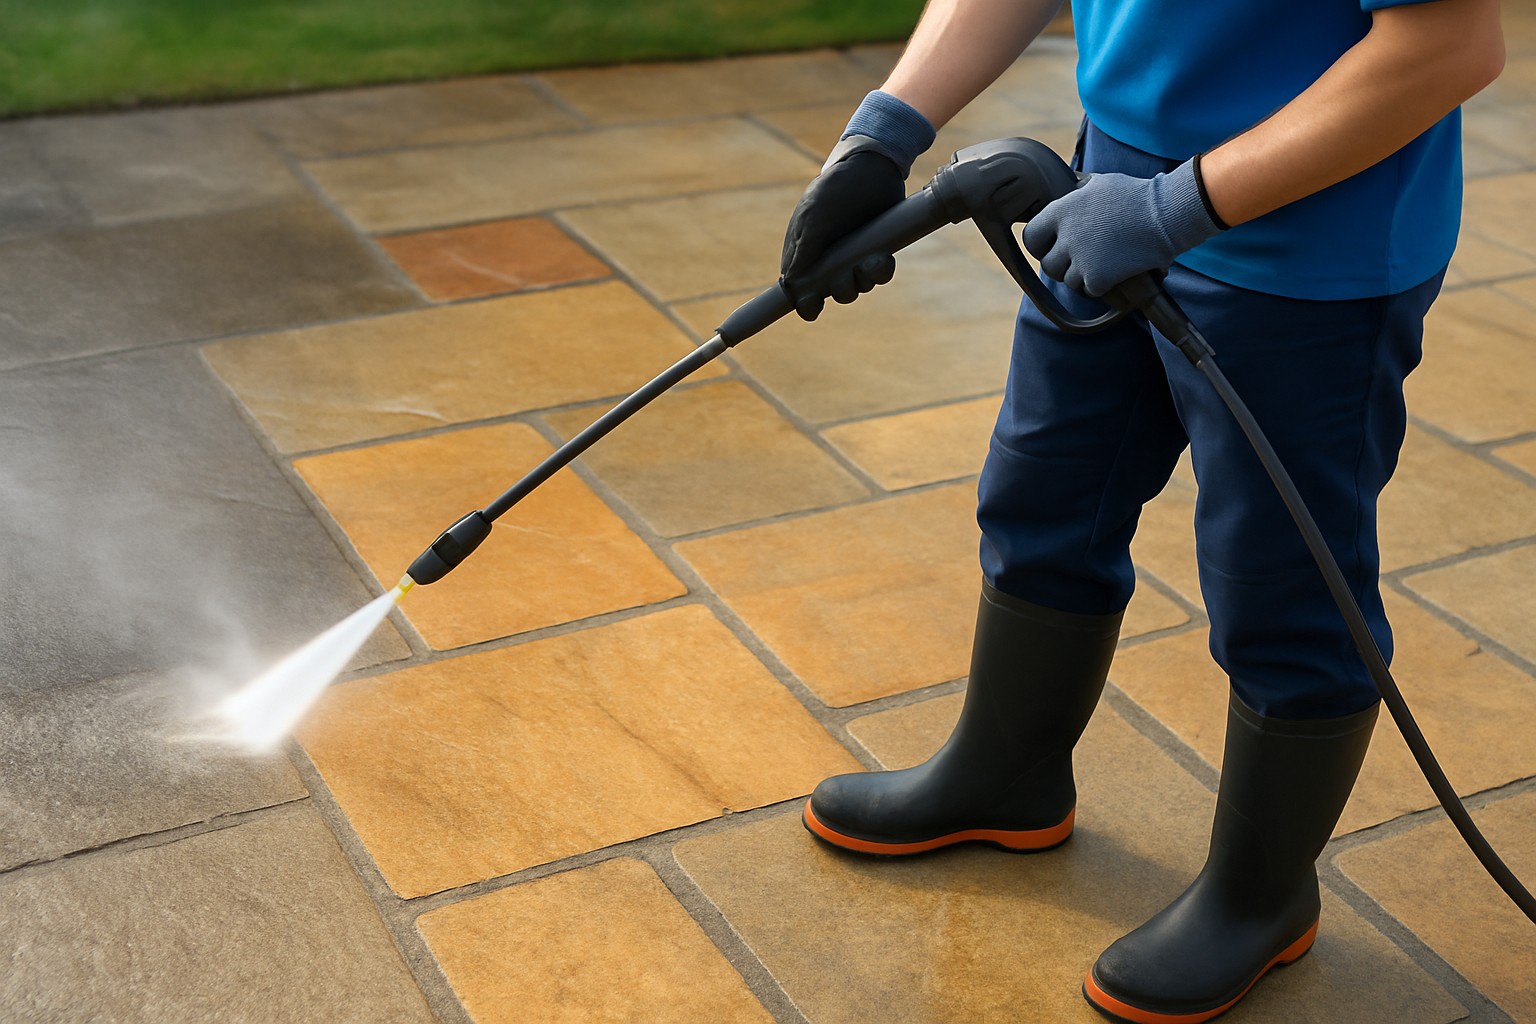
Pressure washing a stone patio carefully with correct technique to avoid damage
Be extra careful when tackling delicate spots like grout lines, tile edges or etched stones—they can turn on you if you are not paying attention. I’ve found it’s best to use the lowest pressure possible around these areas or, better yet, roll up your sleeves and gently scrub them by hand with a soft brush if you think the pressure washer might do more harm than good.
After washing, watch for early signs of damage like surface etching or shifts in color. Catching these troublemakers early can save you a headache later. If you notice any damage, it’s usually best to hold off on pressure washing and contact a stone care expert.
Once you’ve finished pressure washing stone surfaces, drying and sealing them properly can help stretch their lifespan and keep stains at bay. It’s key to make sure no moisture lingers because trapped dampness causes trouble. Then seal it with a quality stone-specific sealer that’s tough on water, oils and dirt.

With experience in neuroscience journalism, Vesper makes cutting-edge brain research accessible to general audiences through clear explanations and compelling case studies.
Read ArticlesDiscover easy, safe methods to remove rust from your stainless steel sink without damaging its surfa...

Explore the top travel adventure books that ignite the passion to wander, offering stories filled wi...

Discover how to experience 10 days in Greece on a budget without missing iconic sites or local cultu...

Explore Reykjavik like a local with this complete guide to free and affordable activities. From icon...