Remodeling
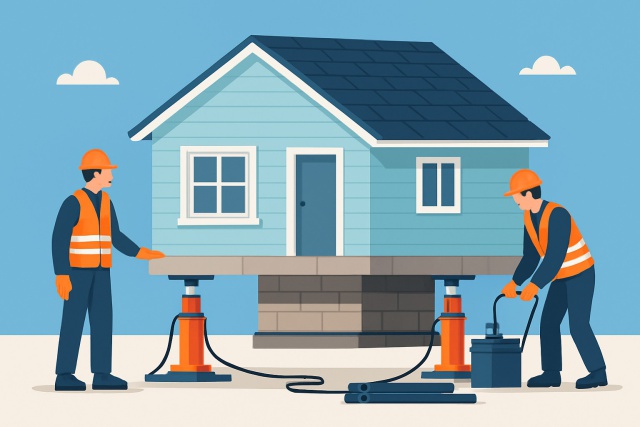
Dangers Of Jacking Up A House Most Homeowners Overlook
Jacking up a house is a complex and risky process often underestimated by homeowners. Discover the c...

Painting floor tiles has become a go-to, wallet-friendly trick for homeowners eager to breathe new life into dreary floors without diving headfirst into a full-blown renovation. Learning how to paint floor tile to nail a finish that actually sticks around without throwing in the towel with chips and peels usually calls for a bit of elbow grease and the right game plan.
Floor tiles typically come from materials like ceramic, porcelain and vinyl. Each brings unique quirks and opportunities when you decide to paint them. Picking the right paint that actually sticks can feel like a bit of a juggling act.
To pull off a tile painting project without a hitch you need the right blend of tools and materials. That means primers made for tiles, paints for floors, sealants and supplies to get the surface just right. These essentials work together to make sure your finish glides on smoothly and sticks like a charm. They also stand up to wear and tear for years.
| Name | Purpose | Recommended Brands / Types | Tips for Purchase |
|---|---|---|---|
| Degreaser Cleaner | Removes dirt, grease, and grime before painting | Krud Kutter, TSP Substitute | Aim for non-toxic, water-soluble cleaners that get the job done without harsh chemicals |
| Sandpaper (120-220 grit) | Scuffs glossy surfaces to help primer stick | 3M, Norton | Go with medium to fine grit to achieve a nicely smooth surface—no need to overdo it |
| Etching Solution | Prepares dense tile for better paint adhesion | Muriatic acid-based, safer etchers | Follow the instructions to a T—trust me, it’s worth the extra care here |
| Primer (Bonding Primer) | Helps paint adhere firmly to tile | Zinsser Bullseye 1-2-3, KILZ Adhesion | Stick to primers made specially for tile or glossy surfaces for the best grip |
| Epoxy or Latex Floor Paint | Provides a durable coating for floors | Rust-Oleum EpoxyShield, Behr Floor Paint | Pick paint that’s rated for heavy foot traffic and built to last—floors take a beating! |
| Paint Rollers and Brushes | Applies primer and paint evenly | Foam rollers 4-6 inch, angled brushes | Small foam rollers give you a nice smooth finish; reserve brushes for those tricky edges |
| Polyurethane Sealer | Protects paint from chipping and scratches | Minwax Waterbased Polyurethane | Use a clear, floor-safe sealer that stands up to abrasion—because nobody wants to touch up too soon |
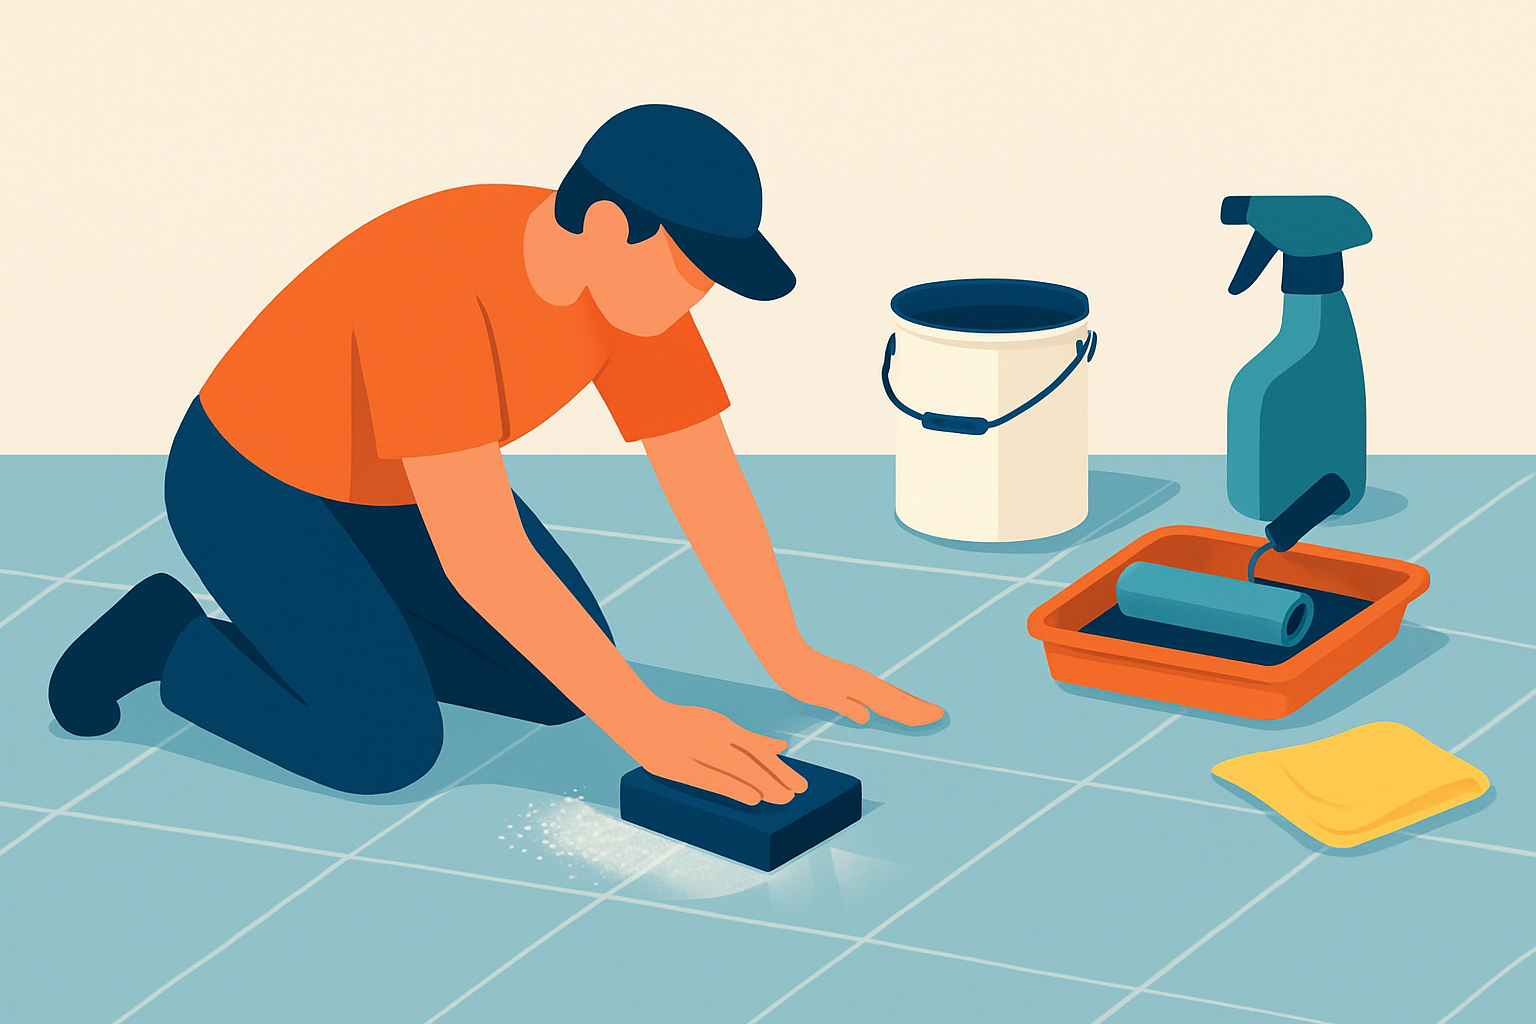
Sanding floor tiles lightly to promote paint adhesion before primer application
Proper surface preparation really sets the stage for a paint job that stands the test of time. A good, strong degreaser does the heavy lifting by wiping away stubborn residues that might otherwise cause paint to peel or flake off down the road. Sanding smooth tiles isn’t just busywork—it actually gives the surface a bit of texture, helping primers and paints grab on like a champ.
Primers crafted specifically for tile surfaces usually do a great job of keeping peeling at bay. They cling nicely to those smooth, non-porous tiles and create a sturdy base coat that paint can really hold onto.
Applying several thin layers rather than one thick one is the secret sauce to avoiding runs and drips. It also prevents uneven drying that can seriously undermine your finish. Patience is key here—waiting a bit between coats lets the solvents fully evaporate and gives you that smooth professional look.
Sealing painted floor tiles with a high-quality clear polyurethane or epoxy-based sealer is key if you want to avoid annoying chipping and peeling down the line. Think of this protective layer as a tough shield that stands up to scratches, moisture and the daily hustle of foot traffic. Plus it really makes the paint’s color pop and shine like you just gave it a fresh polish. For the best results choose a floor sealer that doesn’t yellow over time and can handle heavy use without batting an eye. Be patient—let each coat fully dry and cure before layering on the next to lock in strong adhesion and durability that will last.
A lot of paint problems bubble up from skipping essential prep work like cleaning and sanding or choosing primers and sealants that aren’t the right match for the job. These shortcuts often come back to haunt you with bubbling, peeling or chipping shortly after you think you’re done. Slapping on thick coats might seem like a good idea but it traps moisture underneath which slowly chips away at the paint’s grip over time. If you’re in such a hurry that you rush the curing process, the paint might never fully harden like it should. I’ve found these common mistakes usually end up costing more in repairs and definitely mess with the finish far more than the few minutes you saved upfront.
Keep your newly painted tiles looking fresh and lively by gently wiping them down with soft cloths and mild cleaners—nothing too harsh. Steer clear of aggressive scrubbing or abrasive pads because they tend to wear down the sealant, and nobody wants a dull finish. A little trick I have found handy when learning how to paint floor tile is placing felt pads under furniture legs to dodge those pesky scratches.

Dashiell explores how cities shape human experience, combining architectural insights with sociological observations in thought-provoking pieces.
Read ArticlesJacking up a house is a complex and risky process often underestimated by homeowners. Discover the c...
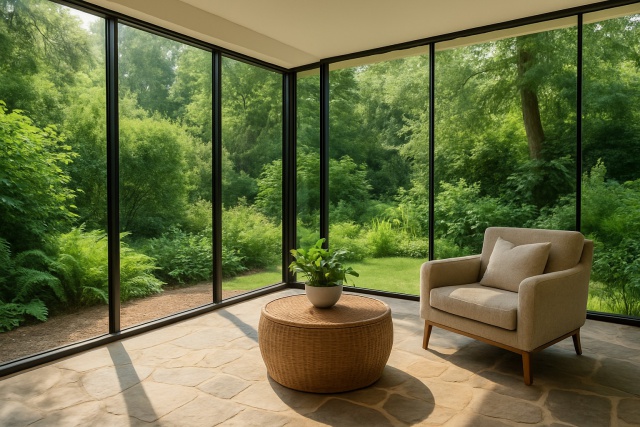
Discover practical steps to transform your patio into a sunroom that blends indoor comfort with the...
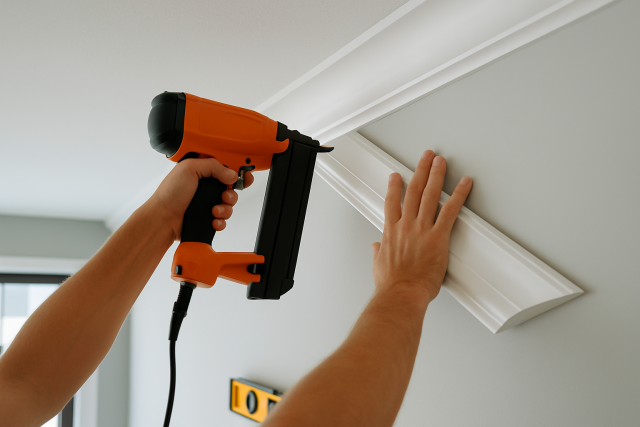
Discover how much to install crown molding with this thorough guide covering labor, materials, style...
Wondering how much mud for drywall you need to patch holes effectively? This comprehensive guide sho...