Remodeling
Simple Tools Needed for How to Stain Concrete Blocks
Discover the essential simple tools and easy steps for staining concrete blocks, enhancing durabilit...
When you are gearing up to install crown molding it is a good idea to watch both labor costs and material expenses so your budget doesn’t catch you off guard. Crown molding can give a room a fresh dose of character and boost its value but the final bill often hinges on the materials you pick and how tricky the installation is. Factors like the room’s size and molding style plus what professionals charge all come into play when tallying the cost.
Crown molding comes in a variety of materials and styles, each putting its own spin on both the look and how tricky the installation can be. You’ll come across everything from timeless wood choices to sleek, modern polyurethane—each bringing its own perks and price tags to the table. Some types are a breeze to cut and paint, while others boast tougher durability or more detailed designs.
When it comes to crown molding installation the choice of material greatly affects how much you will spend. Prices can swing depending on the type and quality or where you buy it. High-grade hardwoods carry a heftier price tag but bring a classic rich look. On the flip side MDF and polyurethane are wallet-friendly picks that still look sharp.
| Material Type | Average Cost Per Linear Foot | Durability | Pros | Cons |
|---|---|---|---|---|
| Solid Hardwood | $5 - $15 | High | Timeless look that never goes out of style, sturdy, and made to stand the test of time | On the pricey side, pretty heavy, and can warp if you are not careful |
| Medium-Density Fiberboard (MDF) | $1 - $3 | Moderate | Easy on the wallet, smooth finish, and a dream to paint | Not a fan of moisture — tends to get damaged fairly quickly |
| Polyurethane | $2 - $6 | High | Lightweight, moisture-resistant, and often comes pre-primed for convenience | Doesn’t quite have the natural vibe some individuals prefer |
| Plaster | $8 - $20 | Very High | Perfect for creating custom, detailed designs that really wow | Requires skilled hands to install, which can drive up the cost |
| PVC | $2 - $5 | Very High | Tough as nails and water resistant | Design options are a bit limited, and it can sometimes look a bit fake |
| Composite Materials | $3 - $7 | High | Durable and adaptable for many uses | Falls in the mid-price range, and not always easy to get your hands on |
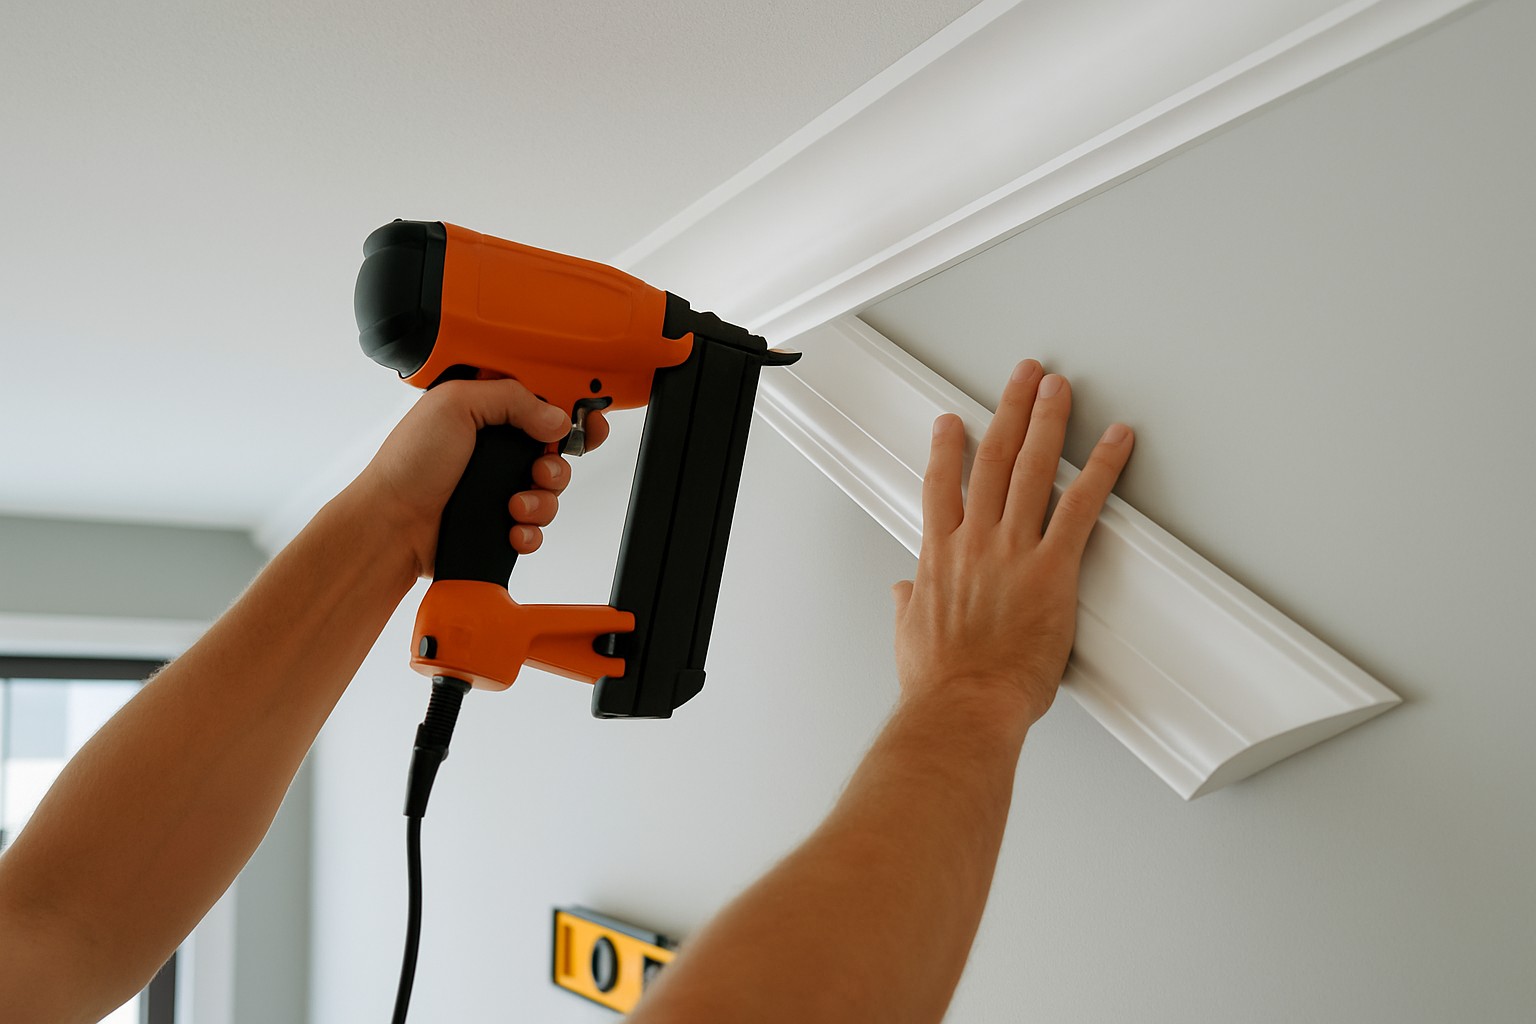
Labor costs take a big bite out of the total expense when installing crown molding. Installers usually size up their fees based on factors like how tricky the job is and the room's size, the number of corners to tackle and how detailed the work needs to be. Skilled pros who nail precise cuts and a snug fit might charge more upfront but in my experience that often saves you from extra costs down the line.
Tackling crown molding installation on your own can seriously slash those pesky labor costs but it’s not for the faint-hearted. You’ll need a steady hand for precise measuring and sharp mitre cuts, neat coping joints, and a keen eye for finishing touches. Slip-ups can waste materials and result in a finish that’s less than polished—basically a fast track to extra repair bills. Bringing in a pro usually means the job gets done accurately and efficiently though your budget might feel the squeeze. For homeowners who’ve dabbled in carpentry and have the right tools, a DIY adventure with quality materials can save you a nice chunk of change.
Materials and labor aside, you might face a few sneaky extra costs when installing crown molding. Tools, adhesives, nails and finishing supplies like paint or stain tend to pile up. If your walls need patching or priming before installation or the moldings require custom cuts to fit uneven corners, the price will climb a bit.
Get a handle on the total cost of installing crown molding by measuring the room’s perimeter to figure out the linear feet needed. Next, multiply that by the price per linear foot of the material you’ve picked. Don’t forget to add the labor cost per foot. If your project involves custom details or painting or repairs, make sure to tack on those extra fees.
Picture a tiny bedroom outfitted with simple MDF molding versus a roomy living room decked out in fancy hardwood crown molding. The costs for labor and materials can swing wildly depending on the design’s complexity and how much of a headache the installation proves to be.
| Scenario Description | Material Used | Labor Cost | Total Cost | Installation Time |
|---|---|---|---|---|
| Small bedroom with simple molding | MDF | $150 | $350 | Roughly 3 hours; quick and painless |
| Large living room with ornate molding | Hardwood (oak) | $600 | $1,300 | 10 hours; a full day's work, but worth it |
| Medium-sized room, polyurethane molding | Polyurethane | $300 | $700 | Around 5 hours; just enough time to grab a coffee |
| Kitchen DIY installation using PVC | PVC | $0 | $200 | About 6 hours; a labor of love (and patience) |
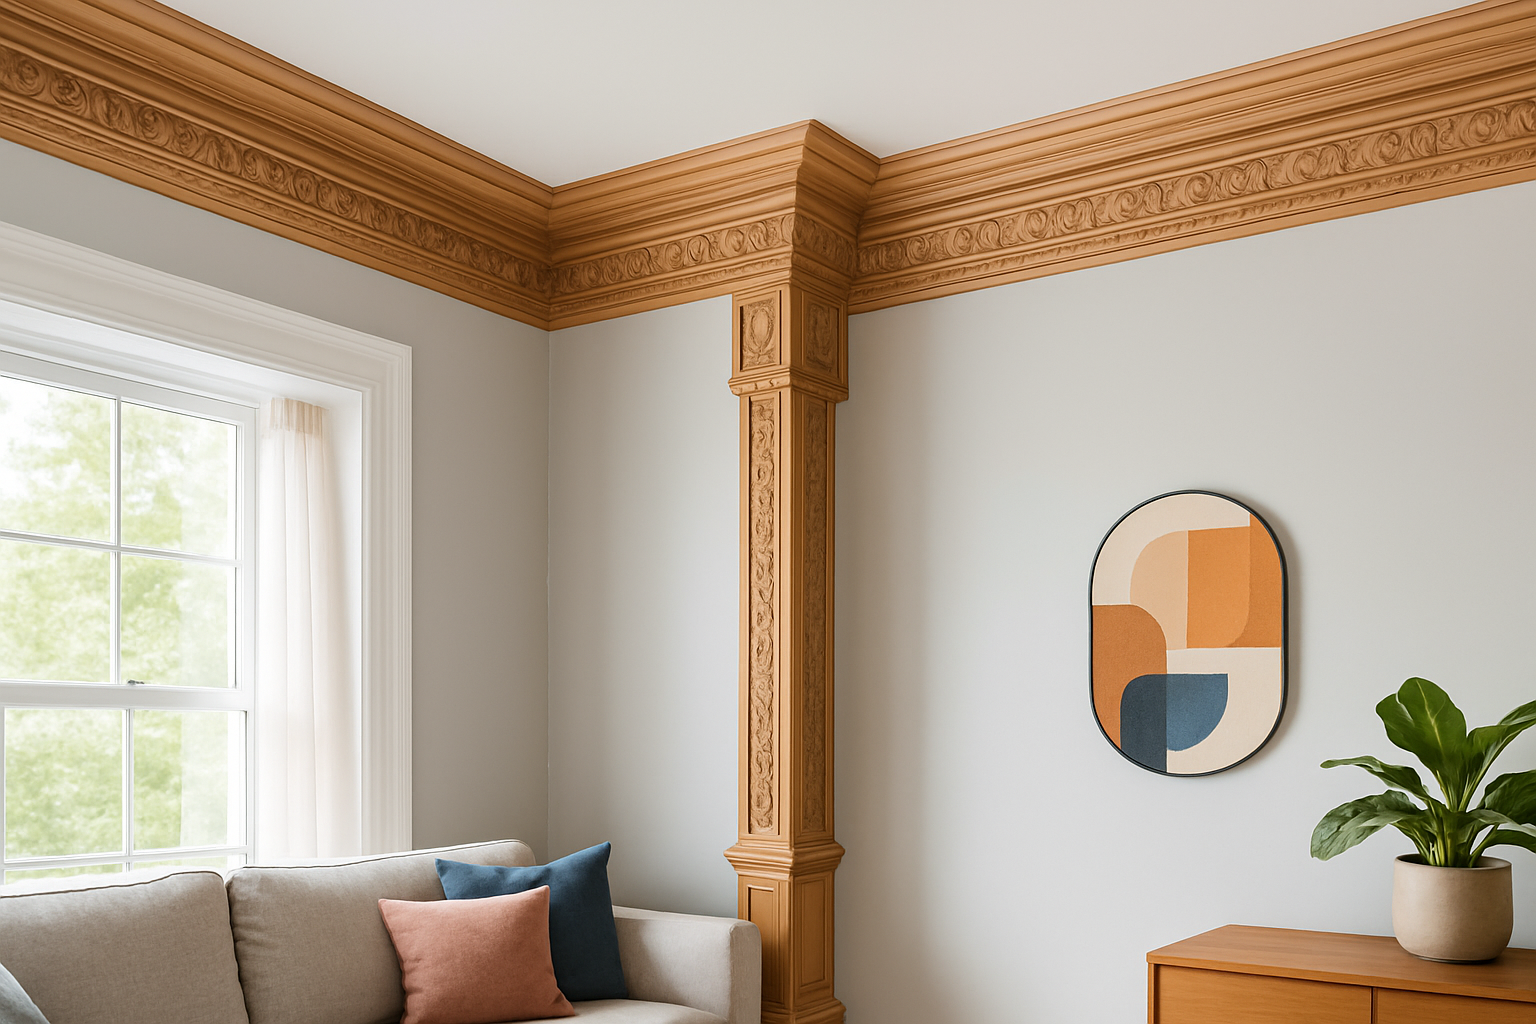
Freshly installed hardwood crown molding showcasing precise cuts and elegant design in a large living room.
Installing crown molding can be a headache since it calls for spot-on measurements at the corners and a steady hand with mitre and coping cuts. It also requires some patience when fitting around pesky uneven architectural quirks.
"One of the trickiest parts of installing crown molding is definitely nailing the inside and outside corners perfectly. Even a tiny slip-up in those mitre angles can leave you with gaps that are a real headache to patch up later. Honestly, that’s when having some seasoned pro experience under your belt makes all the difference." — Sarah L., Professional Carpenter
When deciding how much to install crown molding, consider your skill level, budget, and the complexity of the design. Simple straightforward runs might be well within reach for a beginner. Detailed patterns and tricky corners often call for a pro’s steady hand. Safety is a big deal too, especially when you’re wrestling with power tools or perched high on a ladder.

Driven by a passion for historical mysteries, Sterling investigates forgotten stories and overlooked figures, bringing the past to life with meticulous research and vivid prose.
Read ArticlesDiscover the essential simple tools and easy steps for staining concrete blocks, enhancing durabilit...
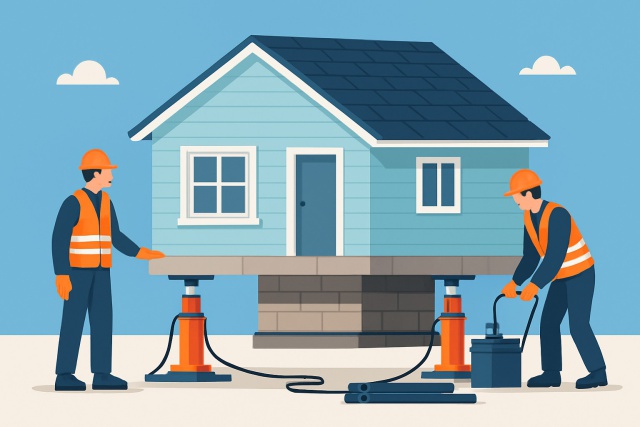
Jacking up a house is a complex and risky process often underestimated by homeowners. Discover the c...
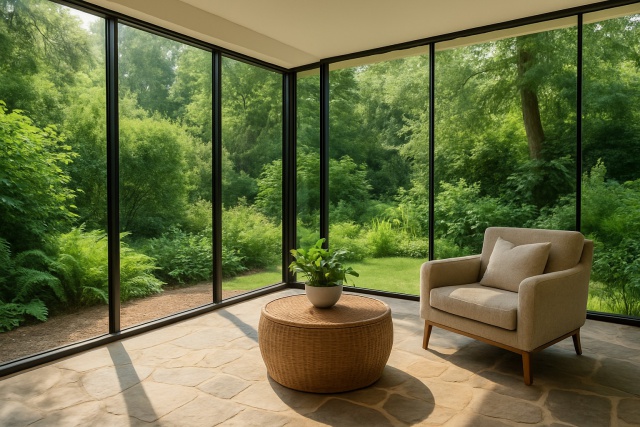
Discover practical steps to transform your patio into a sunroom that blends indoor comfort with the...
Wondering how much mud for drywall you need to patch holes effectively? This comprehensive guide sho...