Remodeling
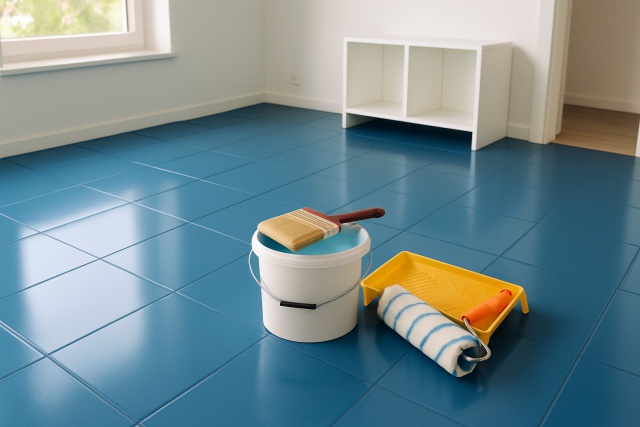
How to Paint Floor Tile Without Chipping or Peeling
Updating your floor tiles by painting them can transform your space affordably. Discover practical s...
This article takes you on a no-nonsense stroll through staining concrete blocks showing you how to refresh their look and give their lifespan a much-needed boost.
Learning how to stain concrete blocks is a great way to highlight their natural charm and add lively color while providing some protection against weather and everyday stains. Applying a stain doesn’t just improve their appearance. It also strengthens them and helps them last longer and retain that fresh look. The whole staining process is quite simple and requires only a few basic tools. So even if you’re new to this it’s completely doable.
Staining concrete blocks not only jazzes up their look with vibrant color but also gives them a leg up against moisture and stubborn stains. It noticeably toughens them up to withstand harsh weather.
Before you dive into your staining project it’s a good idea to round up a few basic tools first. You can snag these pretty easily at your local hardware store, and they’re generally a breeze to handle—whether you’re a rookie or a seasoned pro. Having the right tools on hand usually means the whole process runs a bit smoother and cuts down on the mess.
Each tool plays a important role in the staining process and skipping any could turn your project into a headache. Protective gear is your best friend here—it keeps chemicals and dust from landing where you don’t want them. A good concrete cleaner or degreaser is key to removing dirt, oil or stubborn stains that might prevent the stain from sticking properly. For heavy-duty cleaning, pressure washers and scrub brushes get right down into the porous surface. The stain itself is typically water- or solvent-based. Applying it evenly with a paint roller covers large areas quickly and without fuss. For tricky corners and tight spots, a paintbrush lets you work with more finesse. Plastic buckets hold your mixed stain and keep things ready to go without mess. Garden hoses help with cleaning and rinsing off residue.
Proper preparation is the secret sauce to nailing a staining project. Start by giving your concrete blocks a good scrub to whisk away dirt and grease or any stubborn old residues. This helps the stain soak in nice and even. Patch up any noticeable cracks or damage to keep the surface smooth as butter.
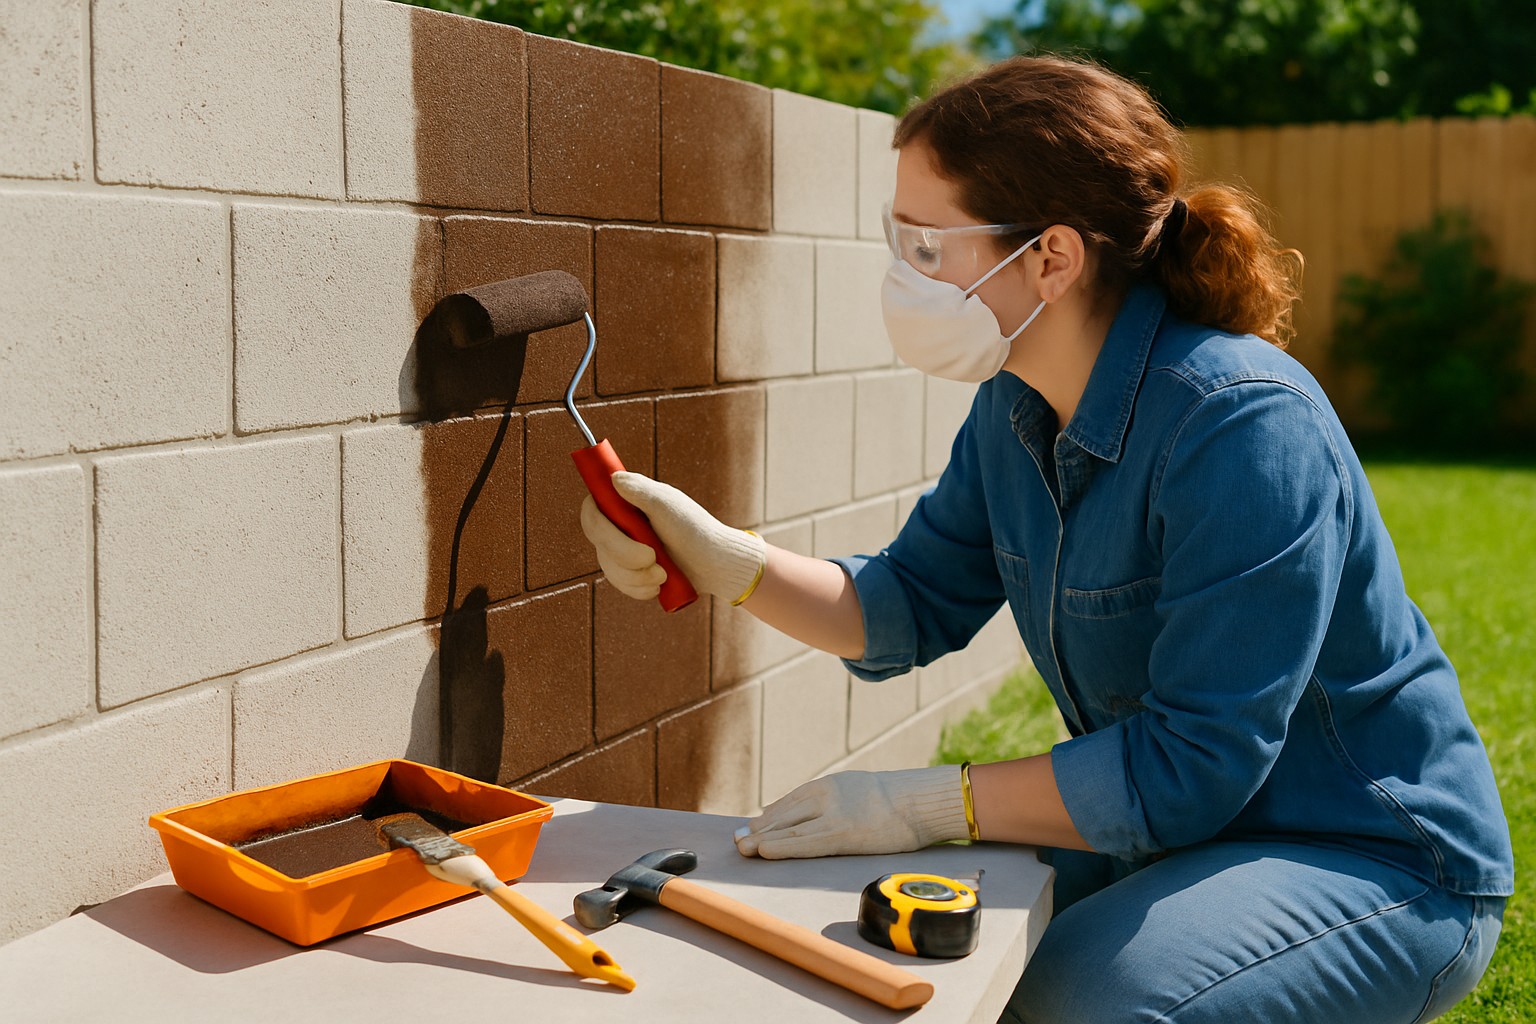
Once your tools are all lined up and the surface is prepped just right, you’re ready to dive into staining. Getting that stain on properly is absolutely important if you want an even coat and a finish that looks smooth as silk. I’ve found that using a paintbrush and a roller together is a great combo to cover every nook and cranny without missing a beat.
One common hiccup you will run into is uneven stain absorption, which can leave you with those frustrating blotchy patches. Make sure your concrete is squeaky clean and bone dry before diving into staining. Applying steady, even pressure with your roller and brushes goes a long way toward keeping streaks at bay.

Applying concrete stain on blocks using paint roller and brush with proper technique.
Cleaning your tools right after staining is absolutely key if you want to keep them in tip-top shape and ready to roll the next time you need them.
Beginners often find themselves stumbling when learning how to stain concrete blocks if they skip key steps or reach for the wrong tools. Getting a good handle on these common slip-ups—and knowing which tools can actually save the day—can make your staining process feel a lot less like a headache.

With experience in neuroscience journalism, Vesper makes cutting-edge brain research accessible to general audiences through clear explanations and compelling case studies.
Read ArticlesUpdating your floor tiles by painting them can transform your space affordably. Discover practical s...

Discover practical steps to transform your patio into a sunroom that blends indoor comfort with the...
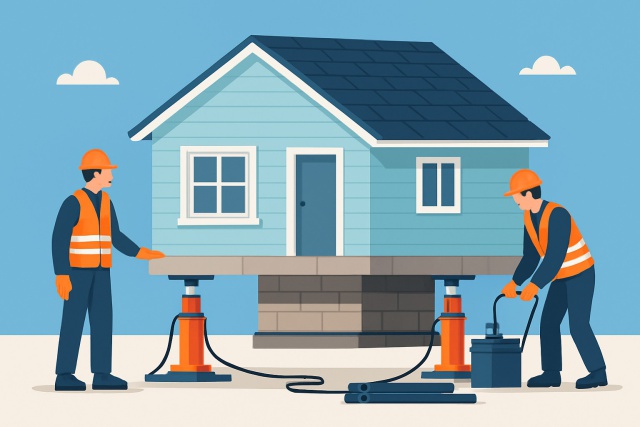
Jacking up a house is a complex and risky process often underestimated by homeowners. Discover the c...
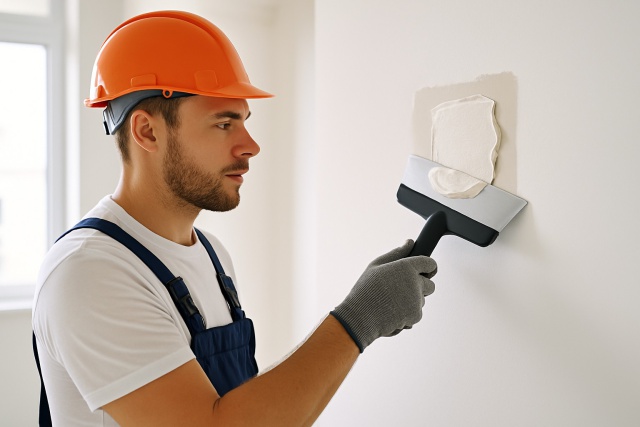
Wondering how much mud for drywall you need to patch holes effectively? This comprehensive guide sho...