Painting & Finishing
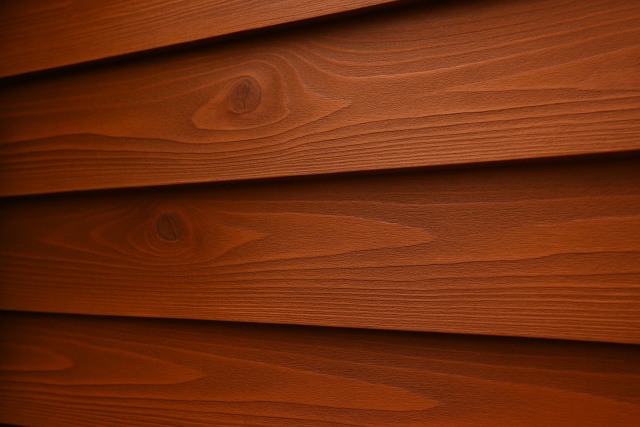
How to Apply Solid Stain Cedar Siding Like a Pro
Master the art of staining cedar siding with solid stain using our detailed guide, ensuring long-las...
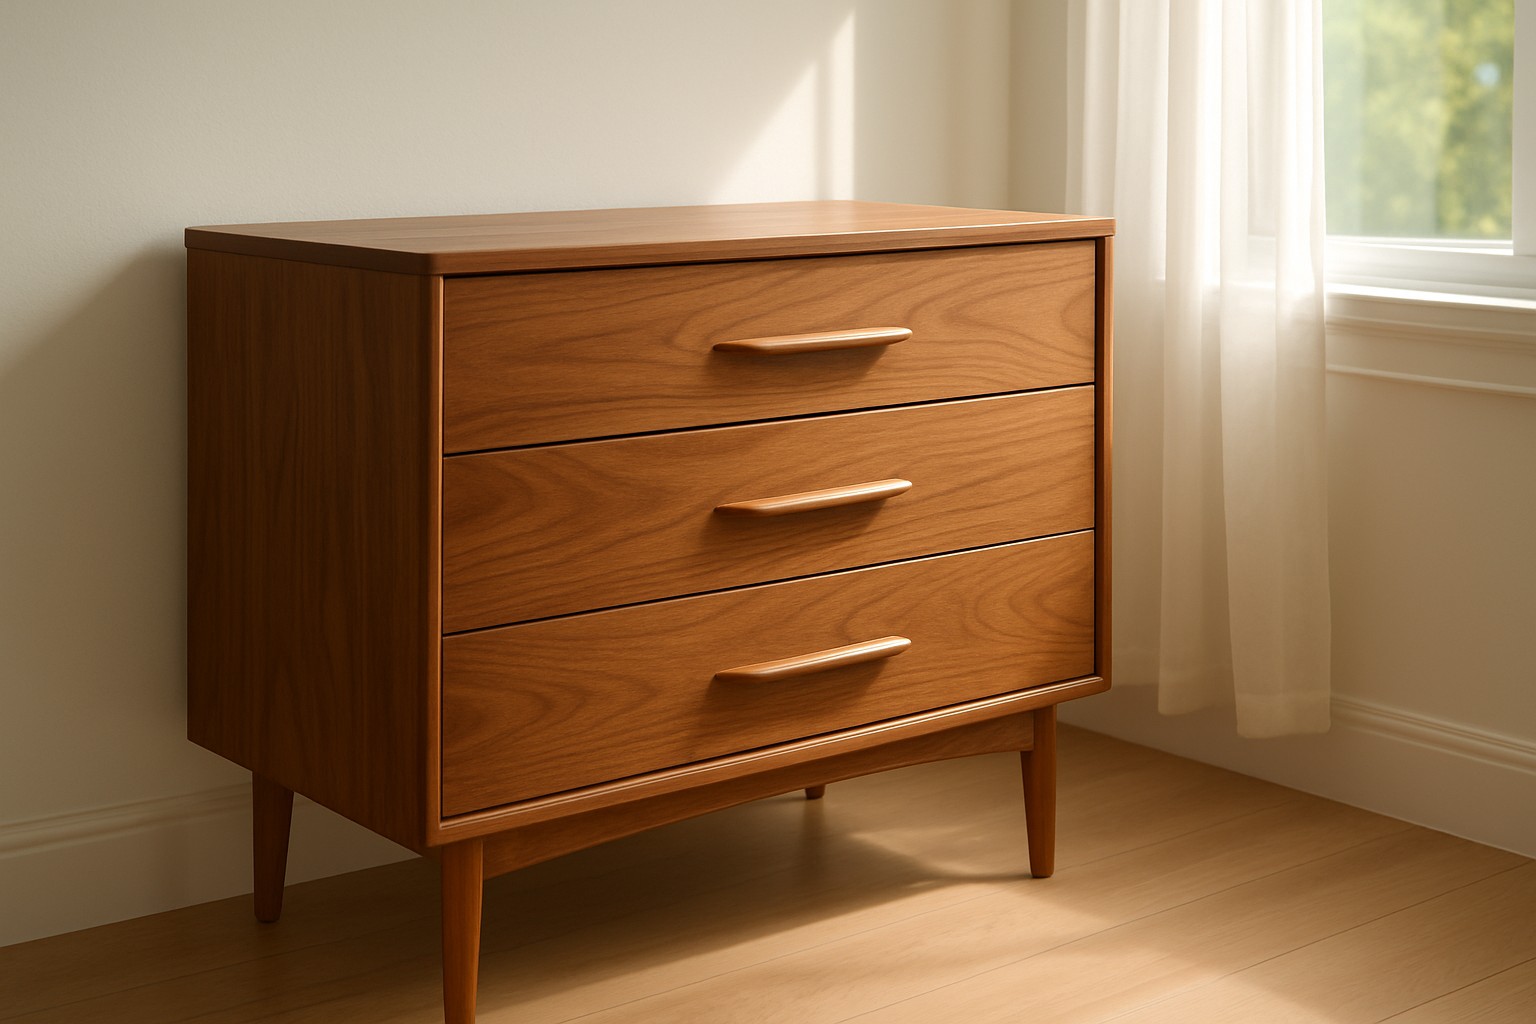
Learning how to refinish a veneer dresser is a budget-friendly and surprisingly rewarding way to breathe new life into your furniture without splurging on brand-new pieces. Since veneer is basically a thin slice of wood glued onto a base, it calls for a gentle hand to avoid any pesky peeling or cracking.
Veneer is a super thin slice of real wood usually less than 3 mm thick that’s glued onto a sturdy core like plywood or MDF. Unlike solid wood, veneer can be delicate and might peel, warp or crack if you’re not careful during refinishing—so handle with care! Common types include rotary-cut veneer which has unique grain patterns and sliced veneer often chosen for decorative surfaces that catch the eye.
Each tool and material has its own special role to play in protecting that delicate veneer. Using sandpaper with a finer grit—think 220 or higher—really helps you avoid sanding right through the thin veneer layer, which is a total nightmare. Chemical strippers made specifically for veneer work their magic by gently softening the finish without any harsh wear and tear. Wood fillers designed for veneer are like the perfect matchmakers—they blend with the thin surface and stick around without cracking under pressure.
Proper preparation really makes all the difference when you want a professional-looking refinish. Removing the hardware first is a smart move because it helps you avoid accidental stains or stripping on metal parts. Giving everything a good clean does more than just tidy things up. It also clears away any stubborn contaminants that could interfere with how well the new finish sticks. I’ve found that testing your removal method on a hidden spot is a total lifesaver since it spares you from any nasty surprises on the delicate veneer surface.
To strip off the existing finish without harming the delicate veneer underneath, it is best to use a chemical stripper made specifically for sensitive wood surfaces. Just be sure to follow the manufacturer's instructions carefully. Avoid aggressive sanding because it can quickly wear through the thin veneer layer. Instead, gently remove the softened finish with a plastic scraper. Work in small sections to stay in control and prevent the chemicals from staying on too long.
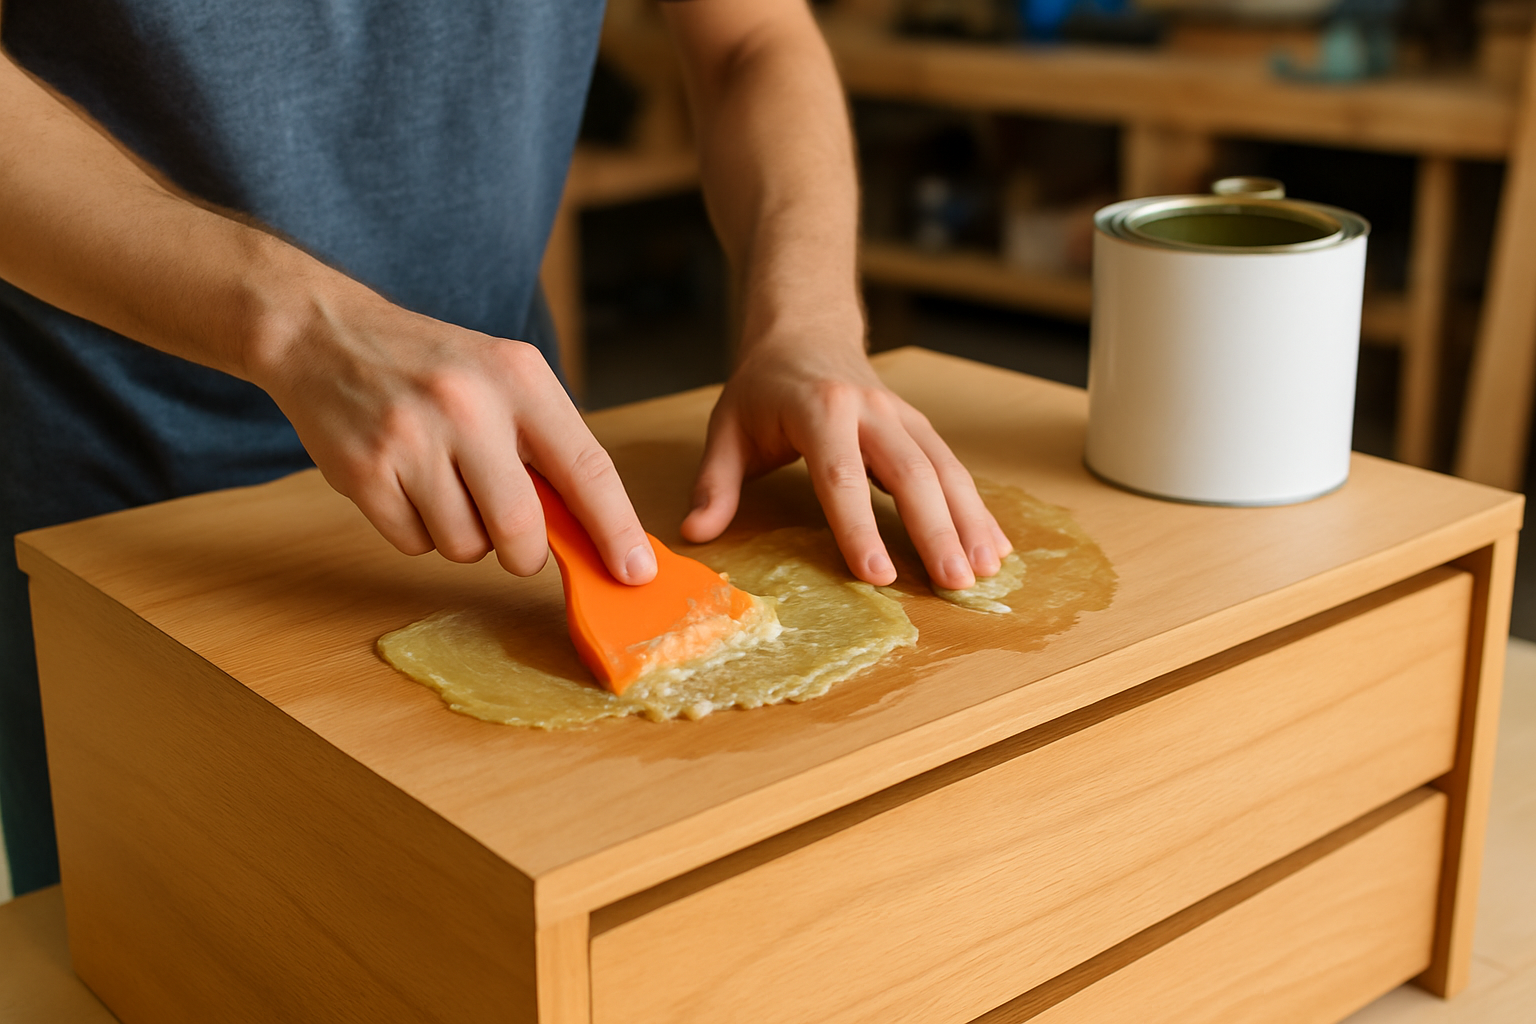
Carefully removing old finish from a veneer dresser using chemical stripper and plastic scraper
After stripping take a good look at the veneer for any signs of warping or peeling or those pesky little chips. Grab some wood filler or putty made just for veneer and use a putty knife to carefully fill the small cracks and chips blending it in so it’s barely noticeable. Once it’s bone dry gently sand it down with fine grit paper to smooth out the imperfections without sanding through to the base layer. Last but not least wipe the surface clean with a tack cloth to whisk away the dust and get your dresser perfectly primed for staining or painting.
Choosing the right stain or paint is key for a finish that lasts. I’d recommend wood stains that are thin and made for veneer or high-quality paint designed for wood surfaces. When applying stain, think thin and even. Using foam brushes can help dodge blotches. Also, patience pays off. Let each coat dry completely before layering the next.
Keep your refinished veneer looking sharp by applying a clear topcoat like polyurethane or varnish that’s specially labeled safe for veneer surfaces. These finishes do a good job shielding against scratches, moisture and UV damage. When applying, I’ve found that using a fine foam brush or a clean rag to spread thin even layers works like a charm. Lightly sanding the surface between coats with ultra-fine 400 grit sandpaper helps with adhesion and creates a silky smooth finish.
These slip-ups usually happen when you're in a hurry or simply don't appreciate how fragile veneer can be. More often than not they result in pesky problems like bubbling, cracking or peeling that stick around longer than anyone wants, which is why learning how to refinish a veneer dresser becomes essential.

Beatrice bridges the gap between human behavior and sustainability through compelling narratives that inspire action.
Read ArticlesMaster the art of staining cedar siding with solid stain using our detailed guide, ensuring long-las...

Explore the best vacation spots in El Salvador where rich local culture thrives—from historic towns...

Planning a wedding for 50 guests doesn’t have to break the bank. Explore average costs and smart bud...

Explore Reykjavik like a local with this complete guide to free and affordable activities. From icon...