Painting & Finishing
What Type of Paint for Bathroom Ceilings Prevents Mold Growth
Learn how to select the right paint for bathroom ceilings to prevent mold growth, with detailed step...
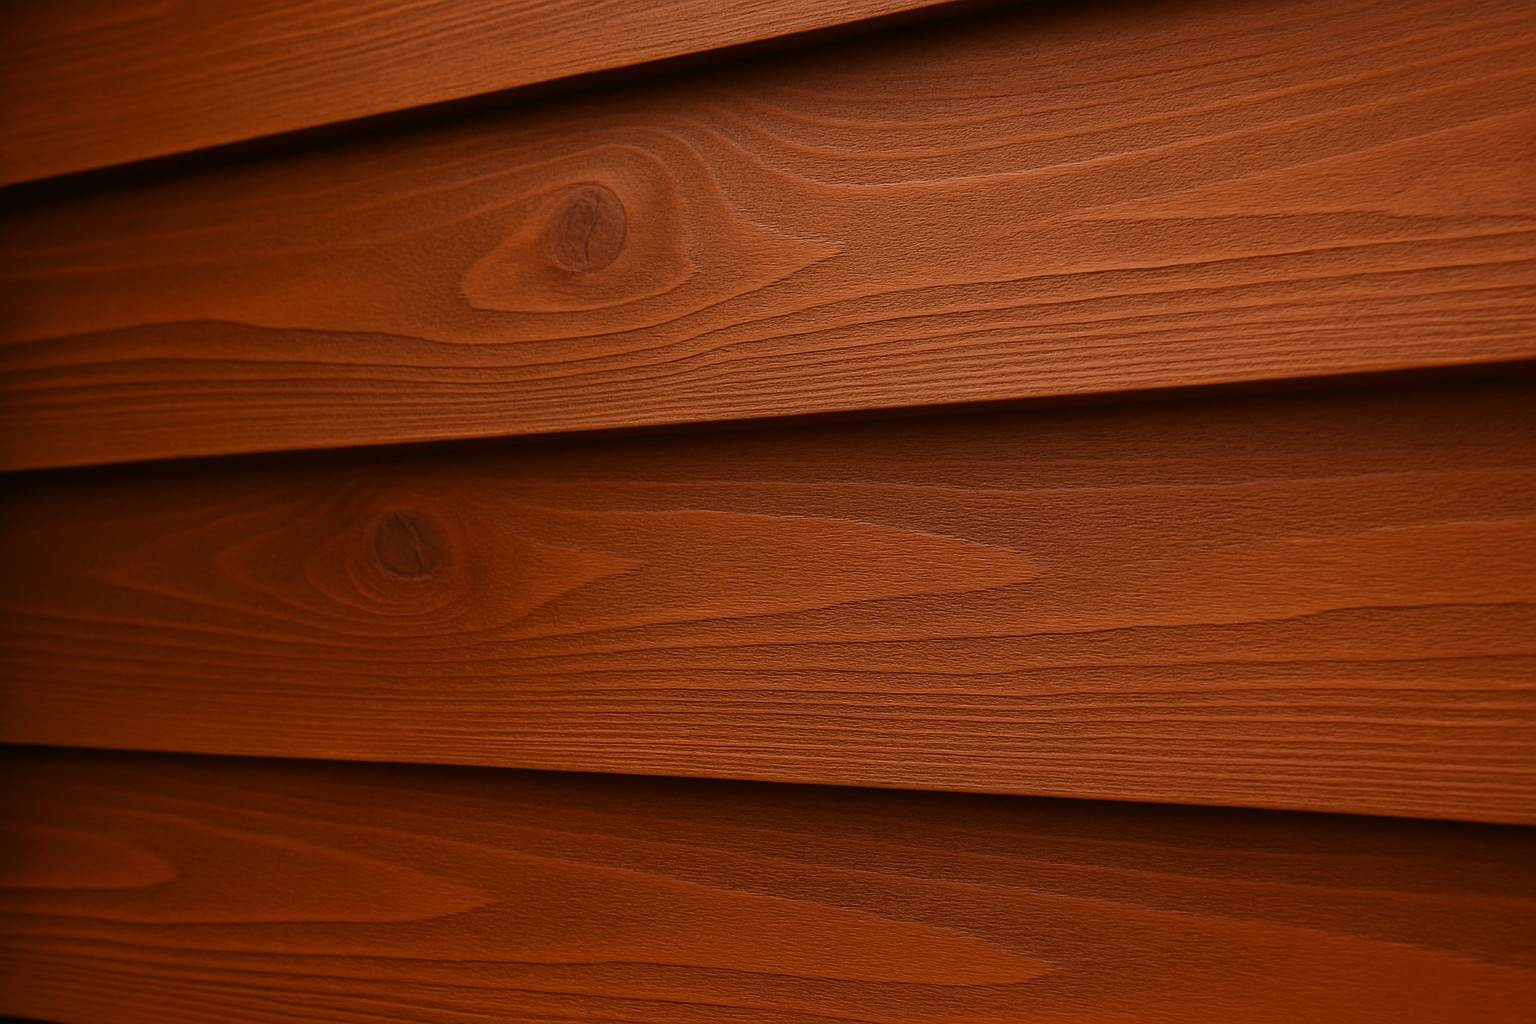
Applying a solid stain to cedar siding is a fantastic way to protect and boost the curb appeal of your home's exterior. Solid stains offer full coverage and cleverly mask imperfections while letting the wood’s natural texture peek through. Cedar siding, prized for its unique grain and natural toughness, shines with solid stains because they seal the wood against moisture and harsh UV rays and weather woes.
Solid stain is a kind of wood finish that covers the surface completely much like paint but still lets the beautiful wood grain peek through. Unlike semi-transparent stains that show more of the wood's natural texture and color, solid stains do a nice job of hiding imperfections while allowing the wood to breathe—pretty handy, right?
Cedar siding is beloved for its gorgeous wood grain and inviting woodsy scent. It also naturally stands up to decay. If it’s left untreated or exposed to harsh weather it can fade, weather or shift in color over time. Solid stains act like armor for cedar. They highlight its unique features and tackle issues like surface cracking or mildew.
Proper preparation is the secret sauce for a smooth solid stain application that lasts. Before dipping your brush, spend time inspecting the cedar siding for trouble spots, sweeping away dirt and mildew and patching up what needs fixing.
When it comes to cleaning cedar siding, it’s best to stick with a wood-specific cleaner or a gentle solution of oxygen bleach or mild soap and water. Definitely steer clear of harsh chemicals that can damage the delicate wood fibers. Soft-bristle brushes and low-pressure washers usually do the trick—getting the job done without scratching the surface. If you’re sanding, using 120 to 150 grit sandpaper gives the wood a slightly rough texture that helps the stain cling better.
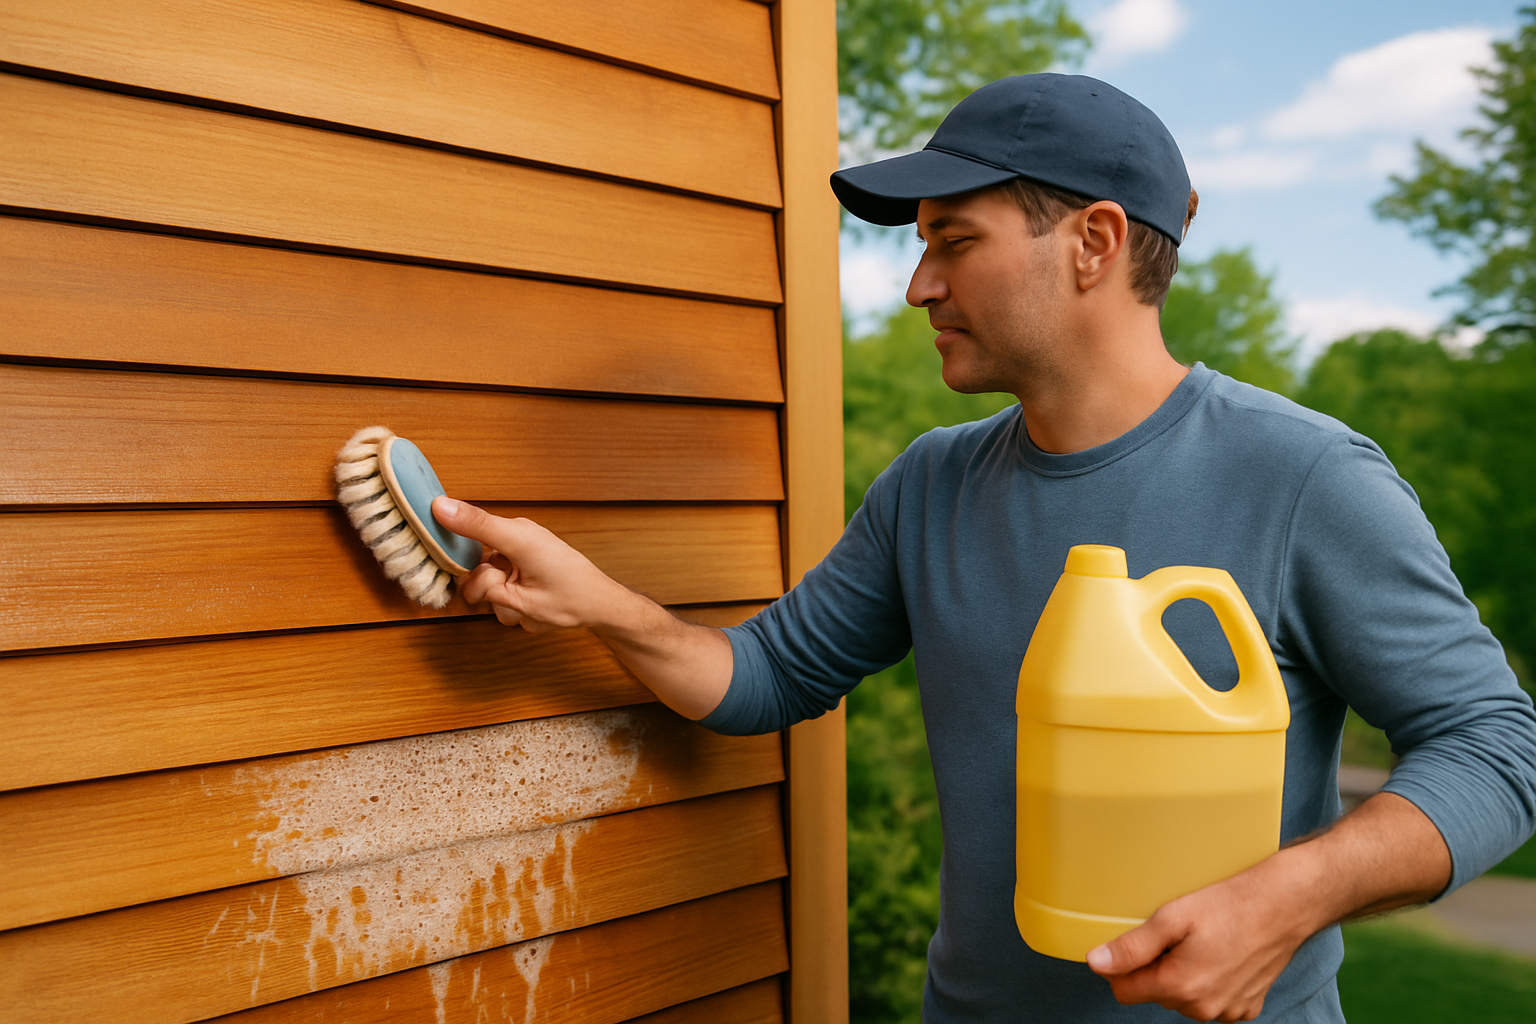
A homeowner uses a soft-bristle brush and wood cleaner to prepare cedar siding for staining.
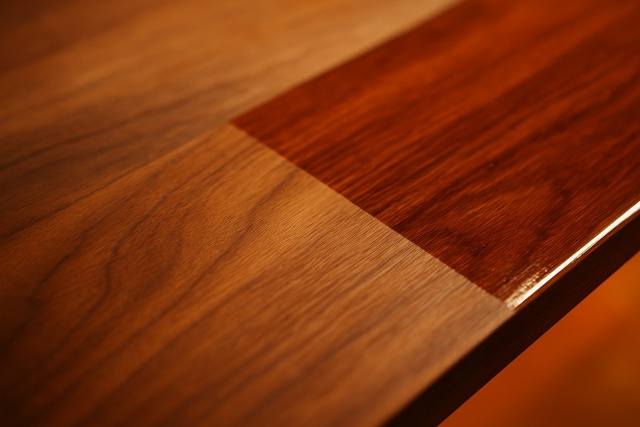
When you are on the hunt for a quality solid stain for cedar siding, it is about balancing a few key factors: color options, UV protection, durability, VOC levels and how well it actually gets along with the wood. A trustworthy stain stands up to fading and moisture and mildew while giving cedar that rich natural glow that makes it pop.
Brands like Sherwin-Williams SuperDeck and Behr Premium Solid Color Waterproofing Stain are the go-to choices for many pros when it comes to cedar siding. Benjamin Moore Arborcoat is another popular option. These products come with advanced formulas that do a good job standing up to the weather while keeping that rich finish fresh for years.
Each tool plays a important role in nailing that professional-looking finish. Synthetic bristle brushes usually take on solid stains like a champ and leave behind minimal streaks, which is always a relief. Rollers with a thick nap make quick work of covering the uneven grain of wood and smooth things out nicely. When it comes to bigger jobs, a paint sprayer can really save time but requires careful masking to keep overspray from crashing the party. Painter’s tape and drop cloths are lifesavers for protecting windows, plants and walkways from unwanted splashes. Wearing protective gear isn’t just a suggestion—it’s key to avoiding inhaling fumes or getting stain on your skin, especially in tighter spaces. Stir the stain thoroughly to keep pigments mixed evenly throughout the application.
When applying use long smooth strokes with steady, even pressure—you'll thank yourself later. Avoid piling on the stain too thickly because it can cause drips and uneven drying that will drive you nuts. Work at a steady pace but don’t rush. Keep the stain wet enough so sections blend together as they should. If you’re spraying back-brush right away to give the stain a fair chance to soak in evenly.
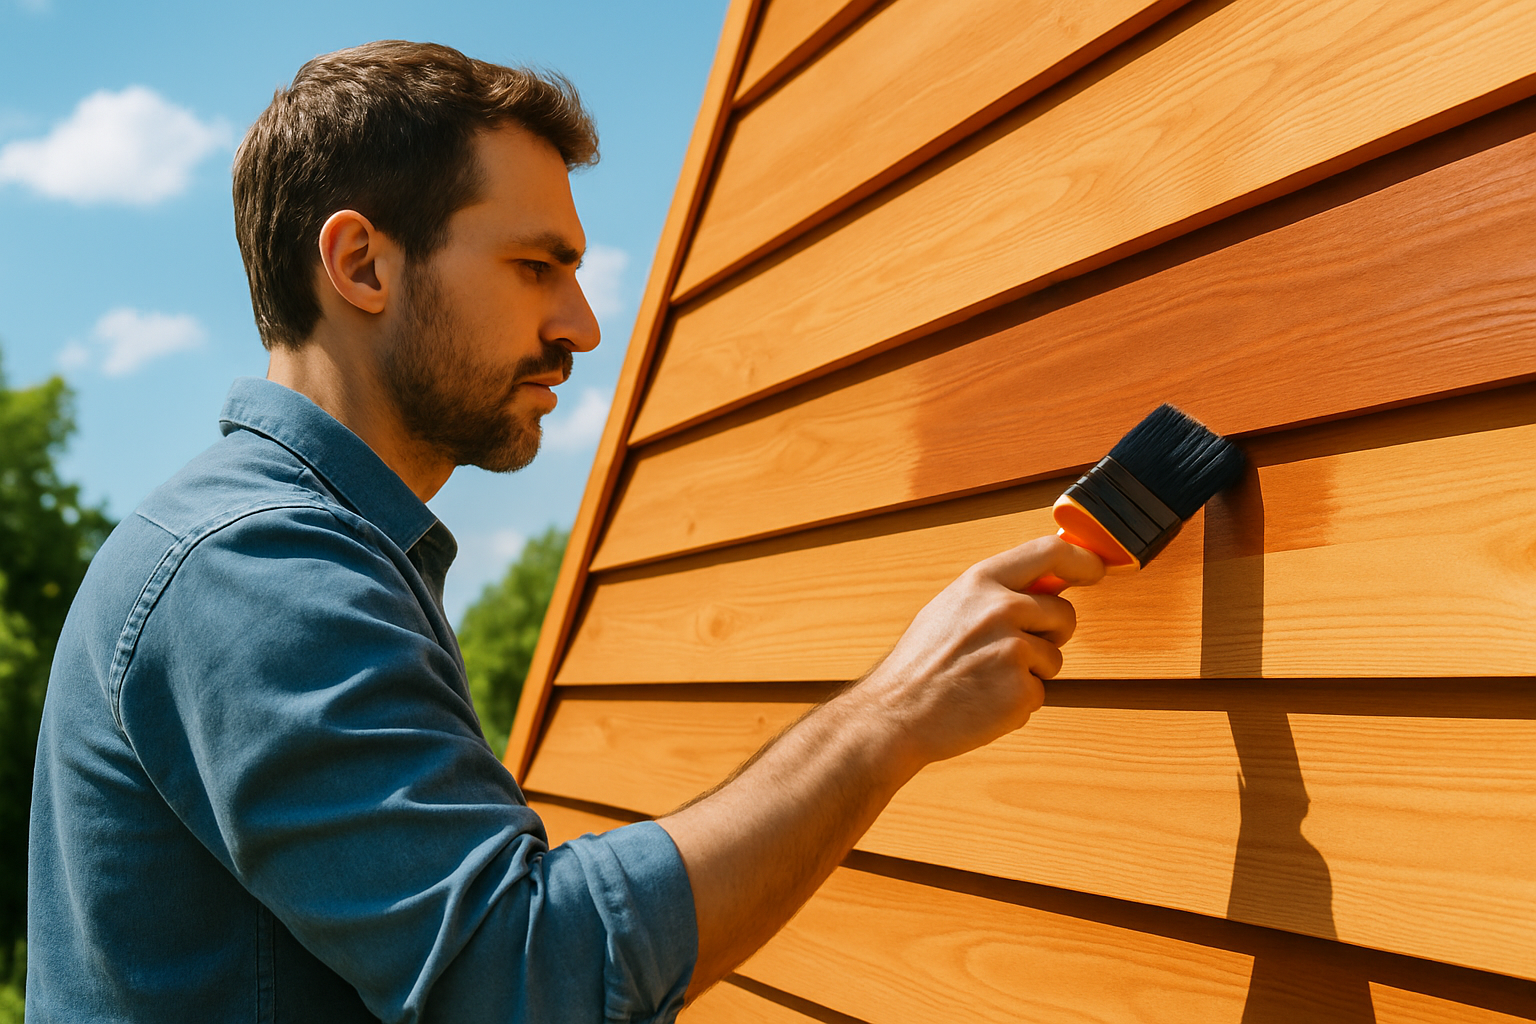
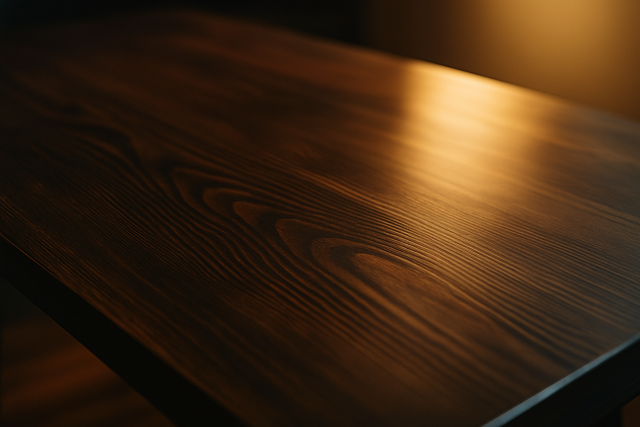
Applying solid stain carefully with a brush to cedar siding in ideal weather conditions.
When you are applying stain it’s best to go with the flow of the wood grain using your brush or roller—this makes a world of difference. For vertical siding start at the top and work your way down steadily. When you are dealing with horizontal siding use broad overlapping strokes to keep things even. Ideally you want to tackle this job when the temperature is between 50°F and 85°F with low humidity. This combo helps the stain dry right and form a smooth film.
Keeping your cedar siding looking its best really boils down to staying on top of regular upkeep. Giving it a good wash now and then does wonders to sweep away dirt and mildew that could quietly damage the finish. Make it a habit to inspect the siding every year for signs like peeling or cracking and do not wait too long to touch it up. That way the protective layer stays strong.
Common hiccups when applying solid stain to cedar siding usually show up as streaking, peeling, uneven color or milky finishes and poor adhesion. More often than not these issues pop up because the surface wasn’t prepped right, the weather threw a wrench in your plans or the product wasn’t handled properly.

Driven by a passion for historical mysteries, Sterling investigates forgotten stories and overlooked figures, bringing the past to life with meticulous research and vivid prose.
Read ArticlesLearn how to select the right paint for bathroom ceilings to prevent mold growth, with detailed step...
Discover simple, effective techniques to darken stained wood for a richer, deeper finish that transf...
Discover the ideal drying times for stains before applying polyurethane to prevent finish issues and...

Should you paint your brick house or preserve its natural look? Explore the detailed pros and cons t...