Painting & Finishing
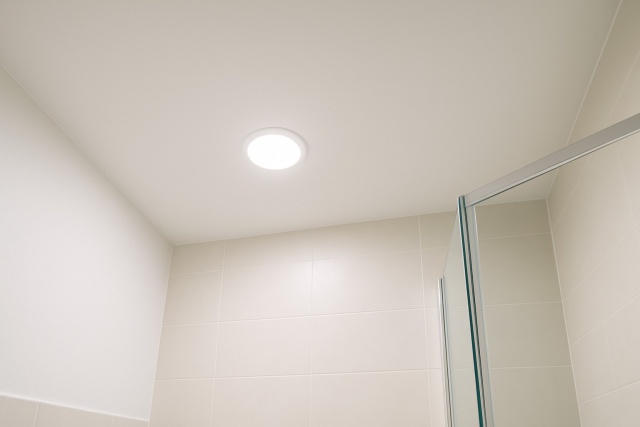
What Type of Paint for Bathroom Ceilings Prevents Mold Growth
Learn how to select the right paint for bathroom ceilings to prevent mold growth, with detailed step...
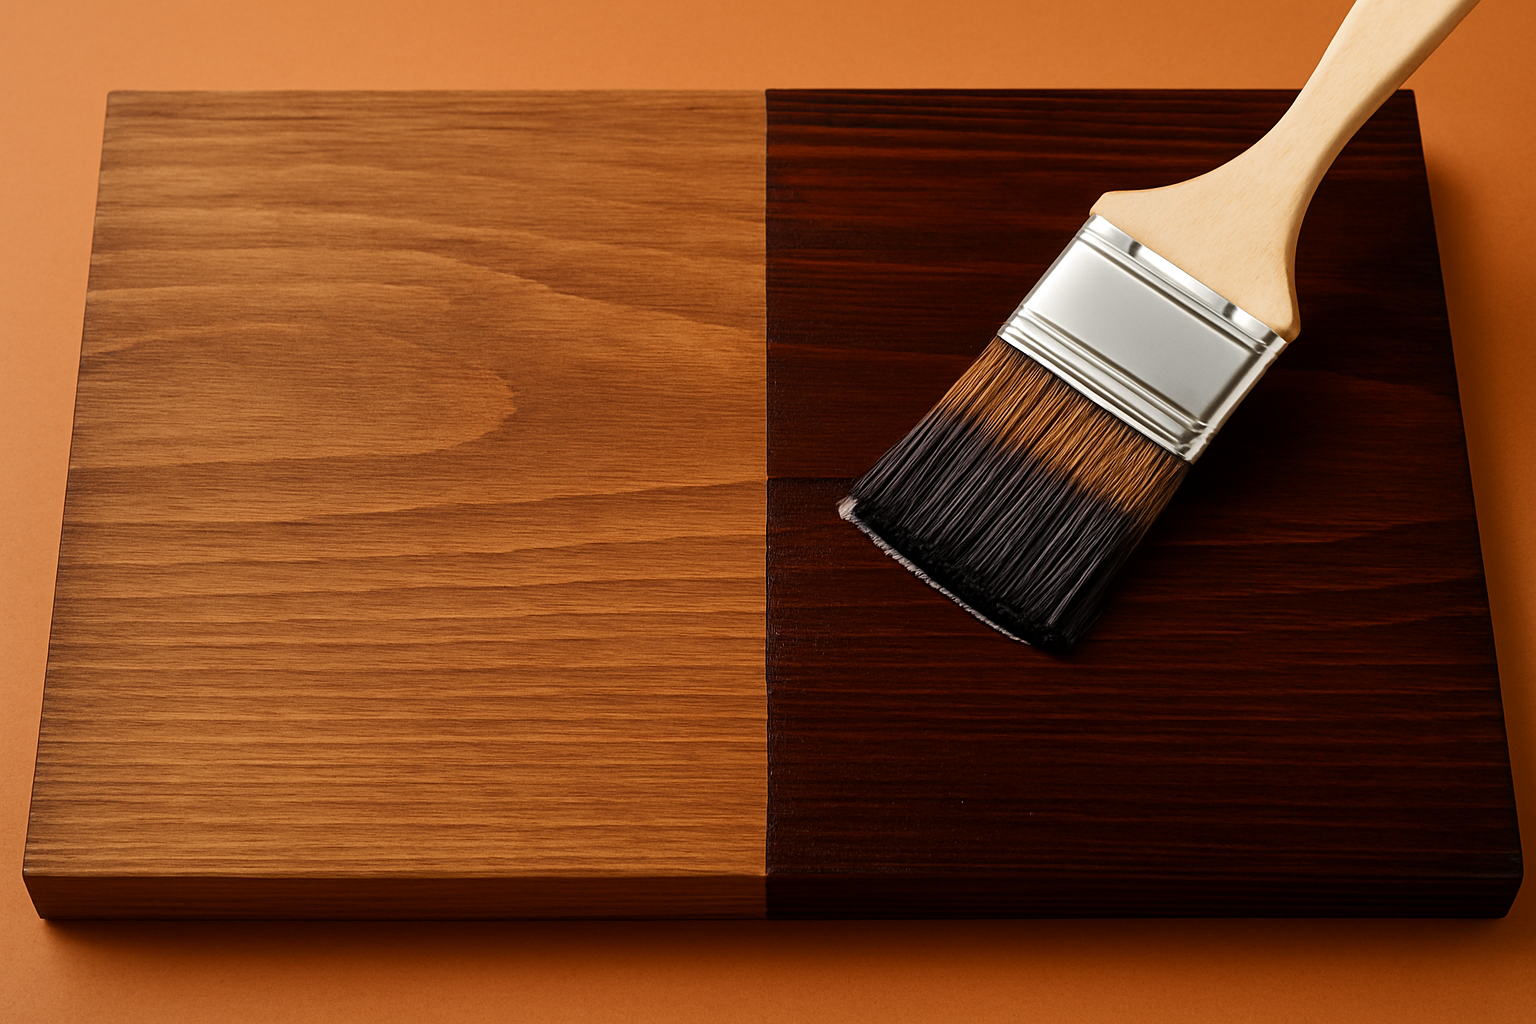
When diving into wood projects, it’s vital to know how long should stain dry before applying poly. This is the secret sauce for a durable and smooth finish that lasts. Giving the stain time to sink in and settle within the wood fibers helps dodge nasty surprises when you add the polyurethane topcoat. If you rush and apply poly too soon you might trap moisture or disturb the stain. This leads to uneven shine and poor adhesion, which is definitely not what you want. Letting the stain dry properly means those polyurethane layers can bond well, making the wood look great and stand the test of time.
Applying polyurethane before the stain has fully dried usually ends up in blotches, peeling and bubbling on the wood’s surface—kind of like an art project gone slightly sideways. When the stain is still wet it tends to mingle with the polyurethane resulting in uneven color and texture that’s anything but smooth. Plus any moisture trapped underneath can leave you with a finish that is sticky or tacky to the touch and the polyurethane might refuse to cure properly which puts a dent in its durability.
Drying time really hinges on the kind of stain you’re using. Oil-based stains tend to take their sweet time compared to the quicker water-based ones. The type of wood matters too, along with factors like humidity and temperature that sneakily affect drying speeds. If you slather on a thicker layer, expect to wait a bit longer for it to fully dry.
| Stain Type | Wood Species | Typical Drying Time | Ideal Conditions |
|---|---|---|---|
| Oil-Based | Oak, Maple, Cherry | 8 to 24 hours | Warm, dry spots with low humidity — just like a cozy afternoon sunbeam |
| Water-Based | Pine, Poplar | 1 to 3 hours | Around 70°F and about 50% humidity, which feels just right for drying without a fuss |
| Gel Stain | Birch, Walnut | 24 to 48 hours | Moderate temps and plenty of fresh airflow to keep things moving along nicely |
| Special Finishes | Exotic woods, hardwoods | 12 to 24 hours | Best done in controlled indoor environments where you can keep a watchful eye on them |
Most professionals recommend waiting at least 24 hours for oil-based stains and around 2 to 4 hours for water-based stains before brushing on polyurethane. This little pause helps make sure the stain has dried enough so you won’t mess up the finish.
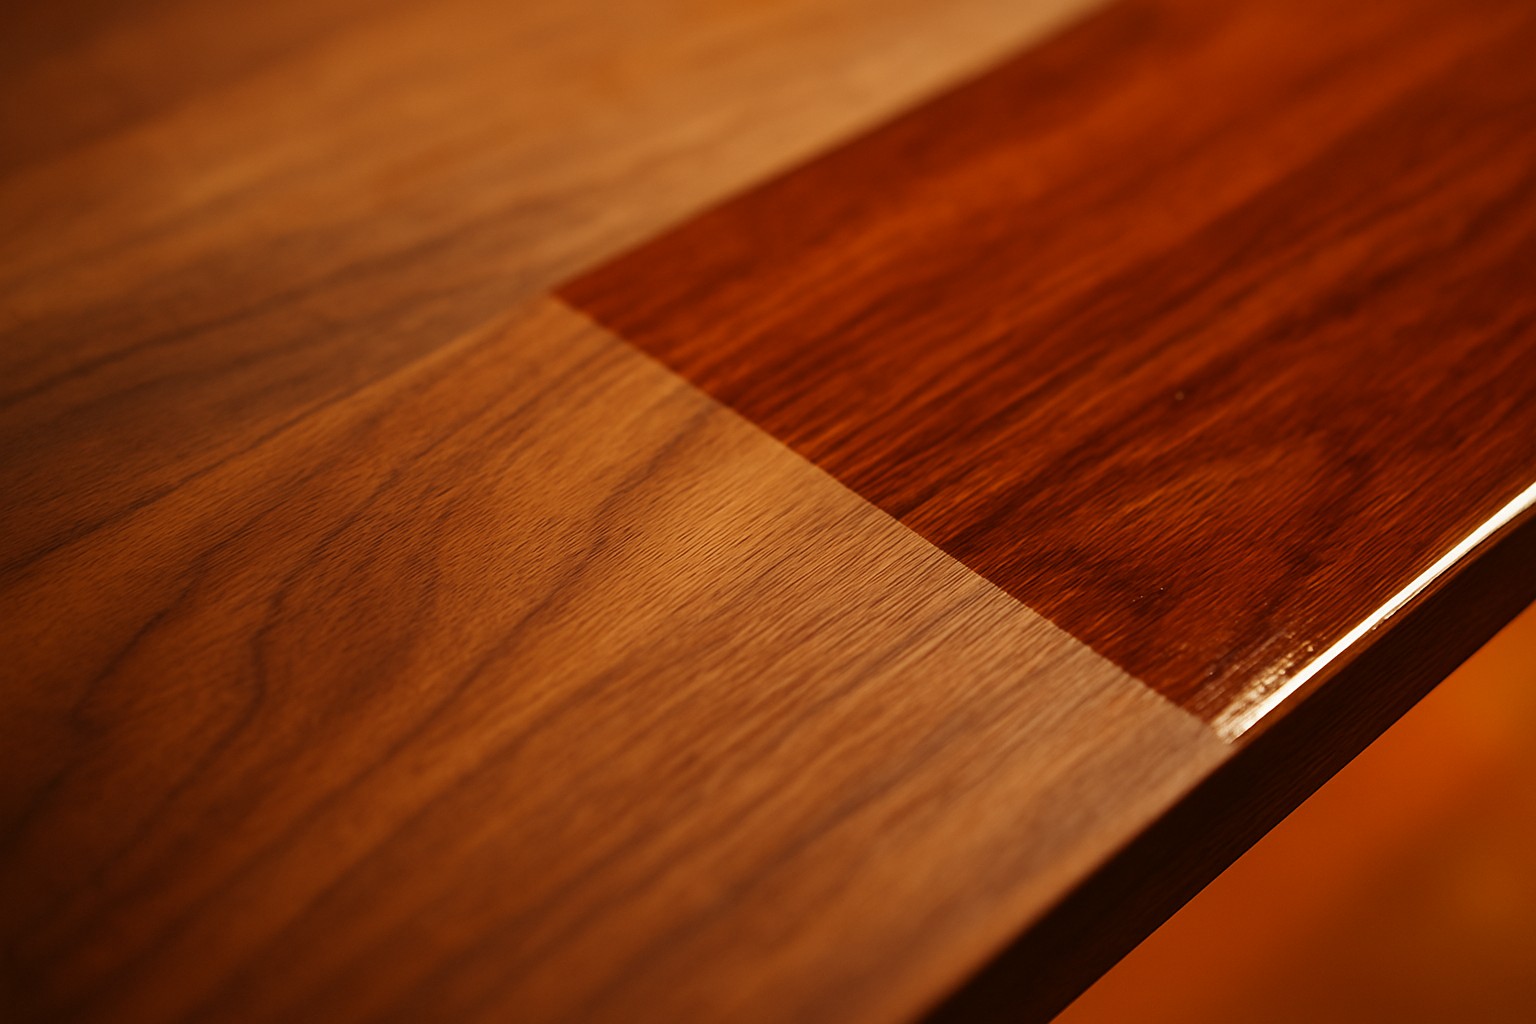
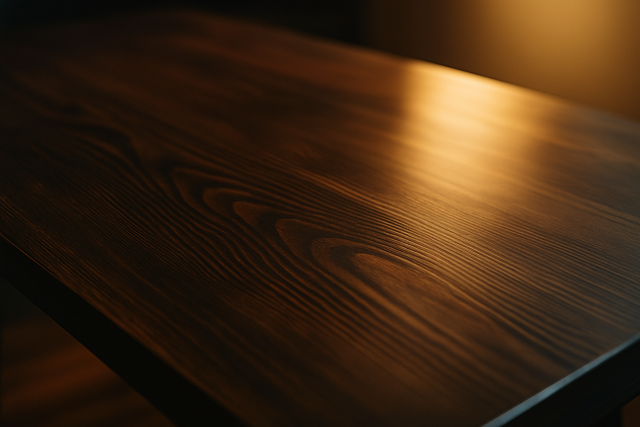
Visual depiction of properly dried stain surface versus stained surface too soon for poly application
It’s a good idea to run a few quick tests to be absolutely sure the stain has dried completely. A gentle touch test can do the trick or you might notice a stubborn lingering smell. Sometimes giving it a light sanding helps too.
Once the stain has fully dried, it’s key to understand how long should stain dry before applying poly to get the surface ready and pick the right product to make everything shine. I’ve found that gently stirring the polyurethane and choosing the perfect brush or applicator can really improve the smoothness and durability of your finish. Allow ample drying time between coats for the best results.
"Patience is often the finish carpenter's secret weapon. Giving the polyurethane the full recommended drying time may test your willpower, but it’s the surest way to achieve a durable, glossy finish that stands the test of time." – Professional Woodworker

As a fan of cultural anthropology, Magnolia uncovers hidden patterns in human societies, translating complex social dynamics into captivating articles for curious minds.
Read ArticlesLearn how to select the right paint for bathroom ceilings to prevent mold growth, with detailed step...

Should you paint your brick house or preserve its natural look? Explore the detailed pros and cons t...
Master the art of staining cedar siding with solid stain using our detailed guide, ensuring long-las...
Discover simple, effective techniques to darken stained wood for a richer, deeper finish that transf...