Painting & Finishing
How to Apply Solid Stain Cedar Siding Like a Pro
Master the art of staining cedar siding with solid stain using our detailed guide, ensuring long-las...
This guide gives you down-to-earth tips to deepen stained wood’s color while helping you avoid the pitfalls that trip up even seasoned DIYers.
Learning how to darken stained wood is a tried-and-true way to really coax out the richness and depth hidden in your furniture and woodworking projects. Many individuals prefer a darker finish because it lends a striking and elegant vibe or helps pieces blend seamlessly with the rest of the decor. Beginners often struggle with uneven color or blotchiness and sometimes accidentally mar the wood’s surface when trying to deepen an already stained finish.
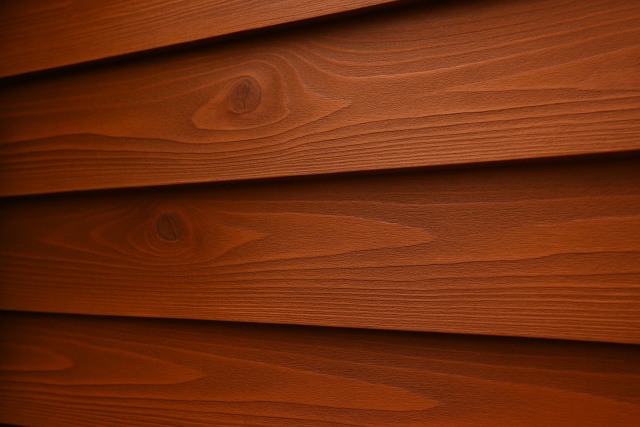
Wood shows off its natural grain patterns and porous fibers, which soak up stains in their own unique ways depending on the species and finish—it's a bit like each type of wood has its own personality. Stains slip into these fibers to bring out color, while finishes like varnish or polyurethane act as a trusty shield for the surface.
Getting the surface ready is absolutely key before you dive into applying darkening agents on stained wood. This involves cleaning off any stubborn dirt or oils and gently sanding to take the edge off glossy finishes. You might even strip away old layers if the wood calls for it.
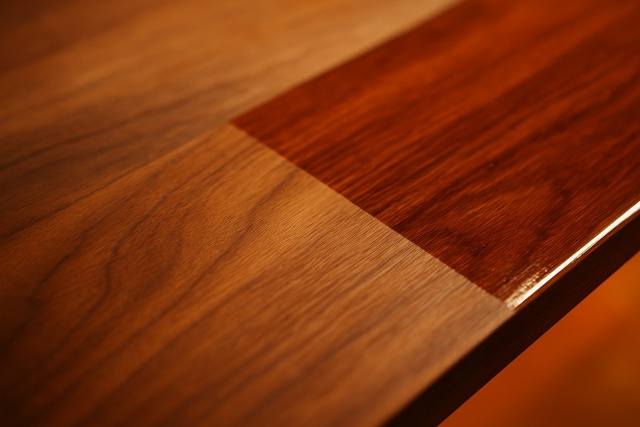
If you are looking to darken stained wood there are a handful of beginner-friendly methods worth trying. You might slap on extra coats of stain or experiment with concentrated wood dyes. You can also lean into natural aging techniques. Each method varies in how bold, speedy or fiddly it can be but mixing and matching lets you tailor the shade just right.
If you are looking to darken stained wood give applying one or more extra coats of the same stain or a slightly darker shade a shot. Use a clean lint-free cloth or brush to spread thin even layers while following the grain. Patience is key here. Let each coat dry fully, usually 4 to 6 hours, before applying the next one.
If you’ve ever felt like your wood project just wasn’t popping quite the way you’d hoped, you’re not alone. Getting that deeper, richer color from wood dyes can sometimes feel like trying to catch smoke with your bare hands. But don’t worry, with a few handy tips and a bit of patience, you can make your wood sing in vibrant tones that really draw the eye. Let’s dive in and see how you can elevate those hues and bring out the natural beauty of your wood in a way that’s truly striking.
Wood dyes such as aniline or alcohol-based ones usually sink in deeper than typical stains. This results in a richer and more evenly distributed color. When you are applying these dyes over previously stained wood, make sure the surface is clean, bare or just lightly sanded—no need to go overboard. I’ve found that using a sponge or spray applicator helps you get a smooth and even coat. You’ll want to work quickly since these dyes tend to dry fast.
Natural approaches like mixing vinegar with steel wool or letting the wood bask in sunlight tend to darken it gradually and lend a soft genuine patina that tells a story.
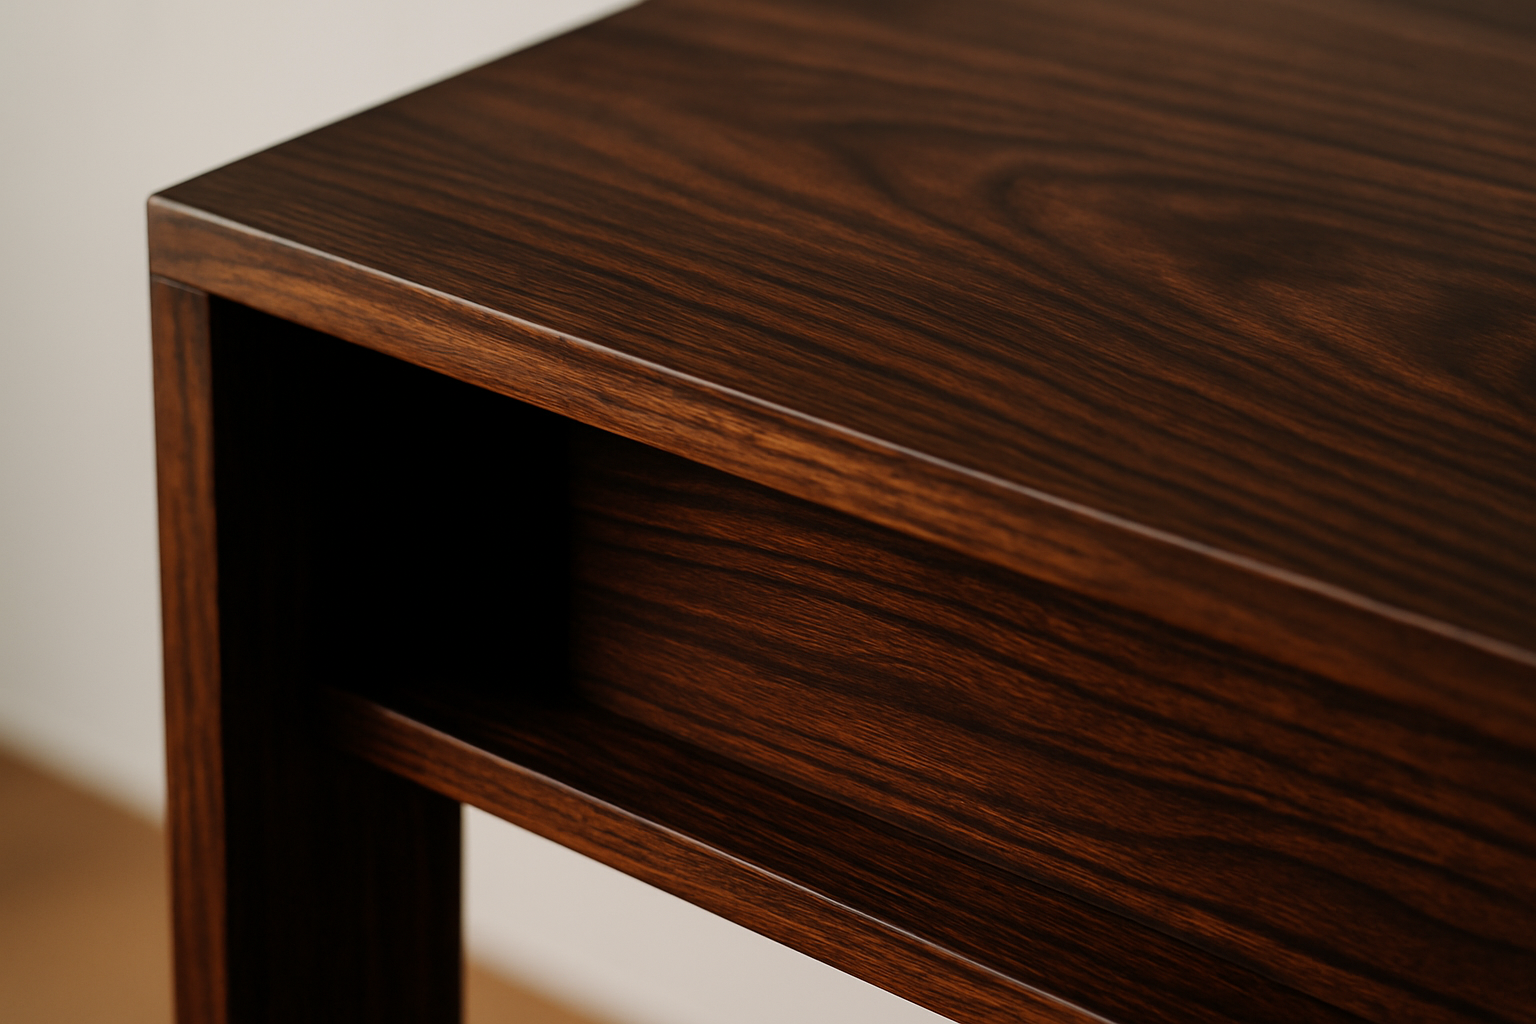
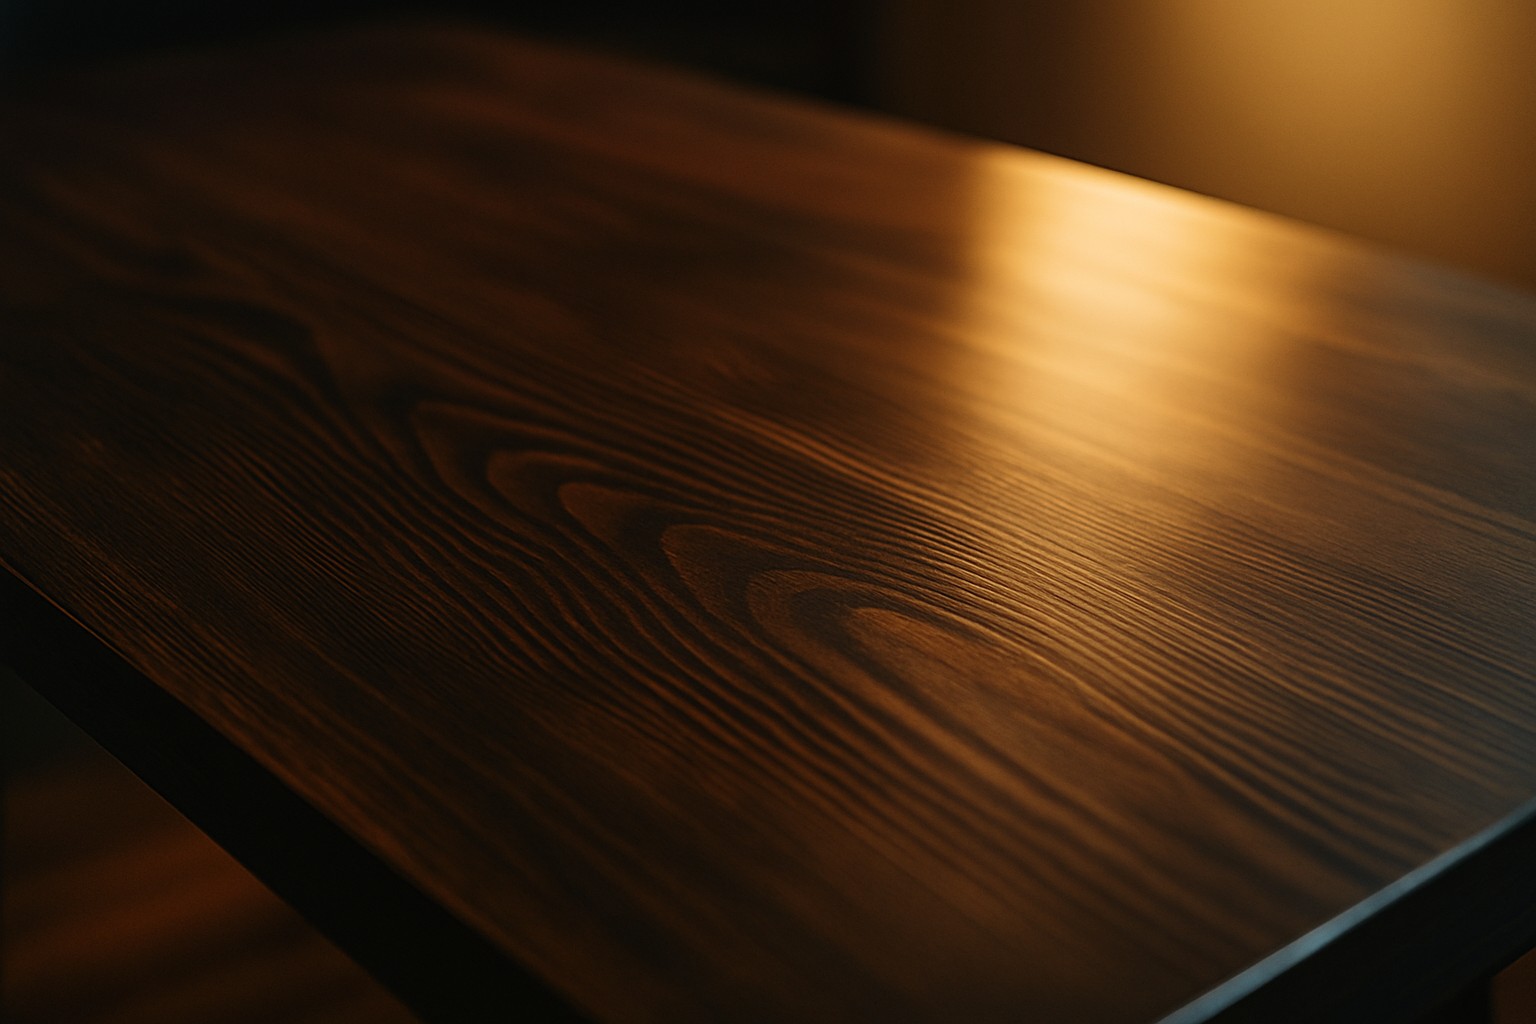
A close-up of a wooden furniture piece that has been darkened using stain, showcasing its rich, deep finish and highlighted wood grain.
Uneven color and sticky finishes tend to pop up when the process is rushed or the prep work isn’t quite up to snuff. Damaged wood grain also appears under these conditions. If you run into these headaches, a bit of gentle sanding and a fresh start usually does the trick.
Once you've nailed how to darken stained wood to your perfect shade, it's important to safeguard all that hard work. Slathering on a good-quality topcoat like polyurethane, varnish or wax not only locks in the color but also gives the wood a fighting chance against scratches and moisture. It also helps prevent the dreaded fading over time. Choose a finish that suits how you'll use the piece and the kind of shine that tickles your fancy.

With experience in neuroscience journalism, Vesper makes cutting-edge brain research accessible to general audiences through clear explanations and compelling case studies.
Read ArticlesMaster the art of staining cedar siding with solid stain using our detailed guide, ensuring long-las...

Should you paint your brick house or preserve its natural look? Explore the detailed pros and cons t...
Discover the ideal drying times for stains before applying polyurethane to prevent finish issues and...

Learn how to select the right paint for bathroom ceilings to prevent mold growth, with detailed step...