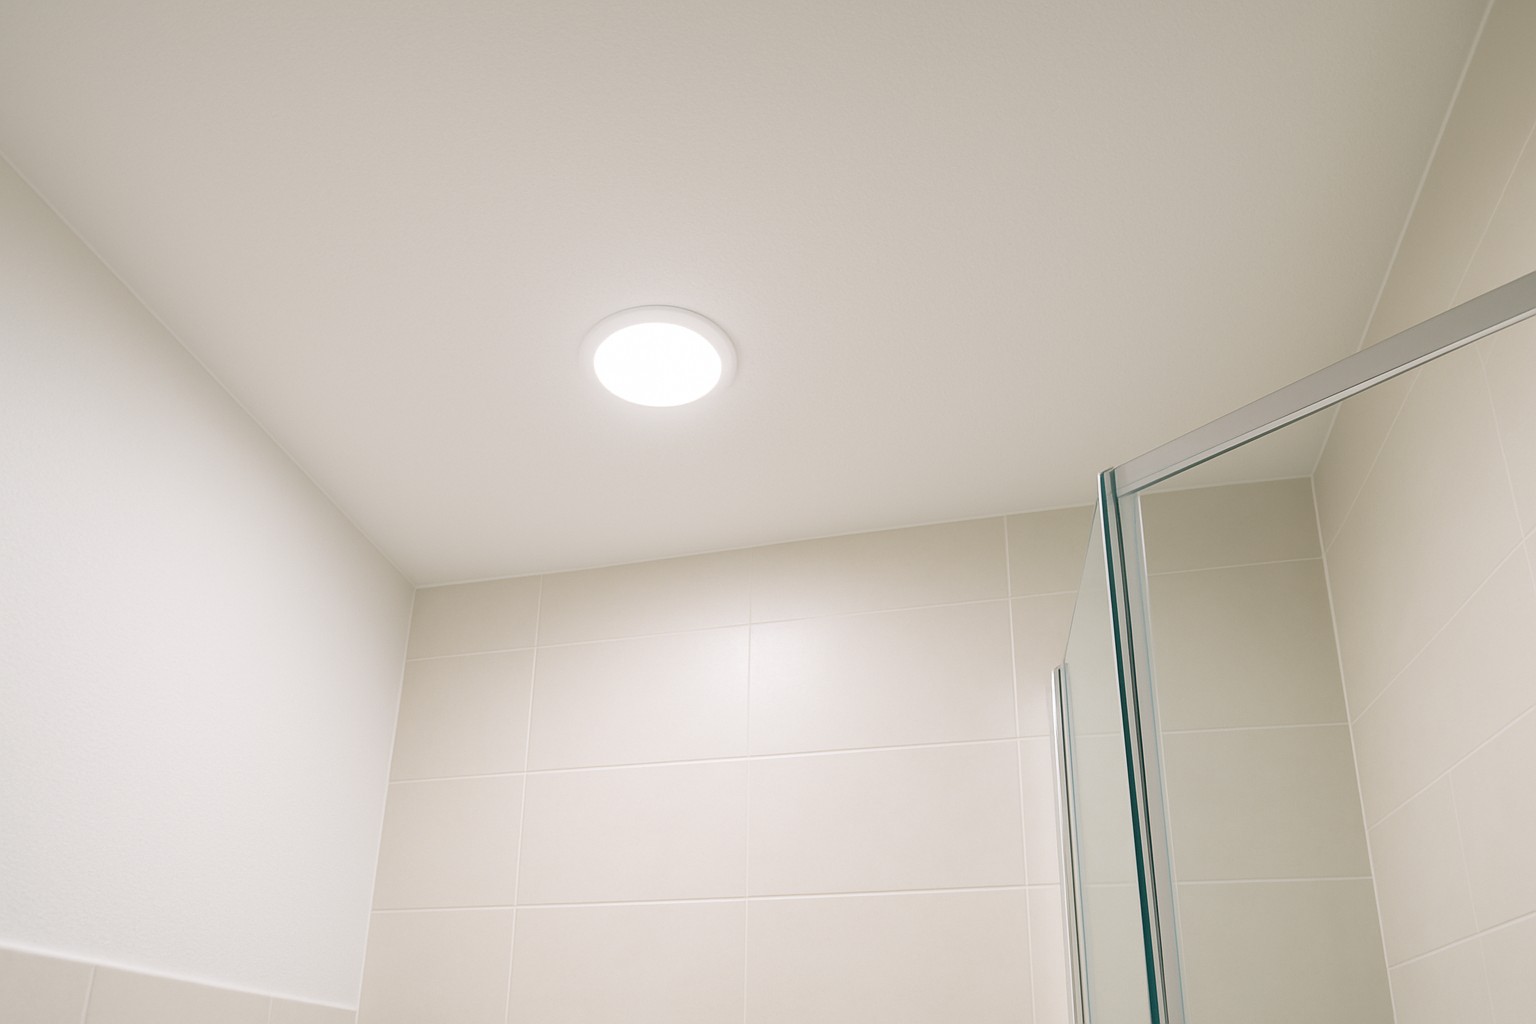
Bathroom ceilings often invite mold growth because they are constantly exposed to moisture and humidity. Choosing the right paint for bathroom ceilings is not just about improving their appearance but also a smart way to prevent mold and mildew.
Why Mold Just Loves to Set Up Shop on Bathroom Ceilings
Mold usually sneaks in when moisture and warmth combine with stale air. Take bathroom ceilings for instance. They often soak up steam from hot showers and send humidity levels through the roof. When ventilation is nowhere to be found, moisture lingers like an uninvited guest. This creates a perfect playground for mold spores to settle in, multiply and wreak havoc on surfaces.
Important Features to Keep an Eye On When Choosing Paint for Bathroom Ceilings
Choosing paint for bathroom ceilings means focusing on qualities that stand up to moisture and prevent mold. Key features to look for include strong moisture resistance and anti-microbial properties. It should also be durable enough for everyday wear and tear and have surfaces that are easy to clean.
Paint should stand up to moisture like a champ, especially in muggy bathrooms where humidity loves to linger.
Keep those pesky mold and mildew spots from crashing the party on your walls.
Washable paint is a lifesaver, making cleanup a breeze without risking any damage to the finish.
Fast drying times cut down on moisture buildup and speed up the whole painting gig — always a welcome bonus.
Strong adhesion is key to keeping your paint stuck tight to the ceiling, steering clear of the annoying peeling and cracking that no one has time for.
Common Types of Paint That Tend to Work Wonders on Bathroom Ceilings
Several types of paint work well for bathroom ceilings, each bringing something different to the table. Acrylic paints usually shrug off moisture and keep their color fresh but often need a primer to stick around. Latex paints are a go-to for many because they clean up without fuss, resist mildew well, and offer a flexible finish that can handle movement. Enamel paints build a tough washable surface perfect for steamy bathrooms but tend to have a stronger odor and take their time drying. Then there are specialty mold-resistant paints packed with antimicrobial agents to keep mold at bay, though they can be pricier.
Paint Type
Moisture Resistance
Mold Resistance
Finish Options
Price Range
Recommended Uses
Acrylic
High
Moderate
Matte, Satin
Moderate
Great for bathrooms with decent ventilation—keeps things fresh without breaking the bank
Latex
Moderate to High
High
Flat, Eggshell, Satin
Affordable
Perfect for most bathroom ceilings and a breeze to clean when life gets a little messy
Enamel
Very High
High
Glossy, Semi-gloss
Higher
The go-to for steamy spots, loved for its durability and easy-to-wipe surfaces—really stands up to humidity
Mold-Resistant Paint
High
Very High
Matte, Satin
Premium
The heavy hitter when mold keeps crashing the party—ideal for bathrooms with ongoing mold woes
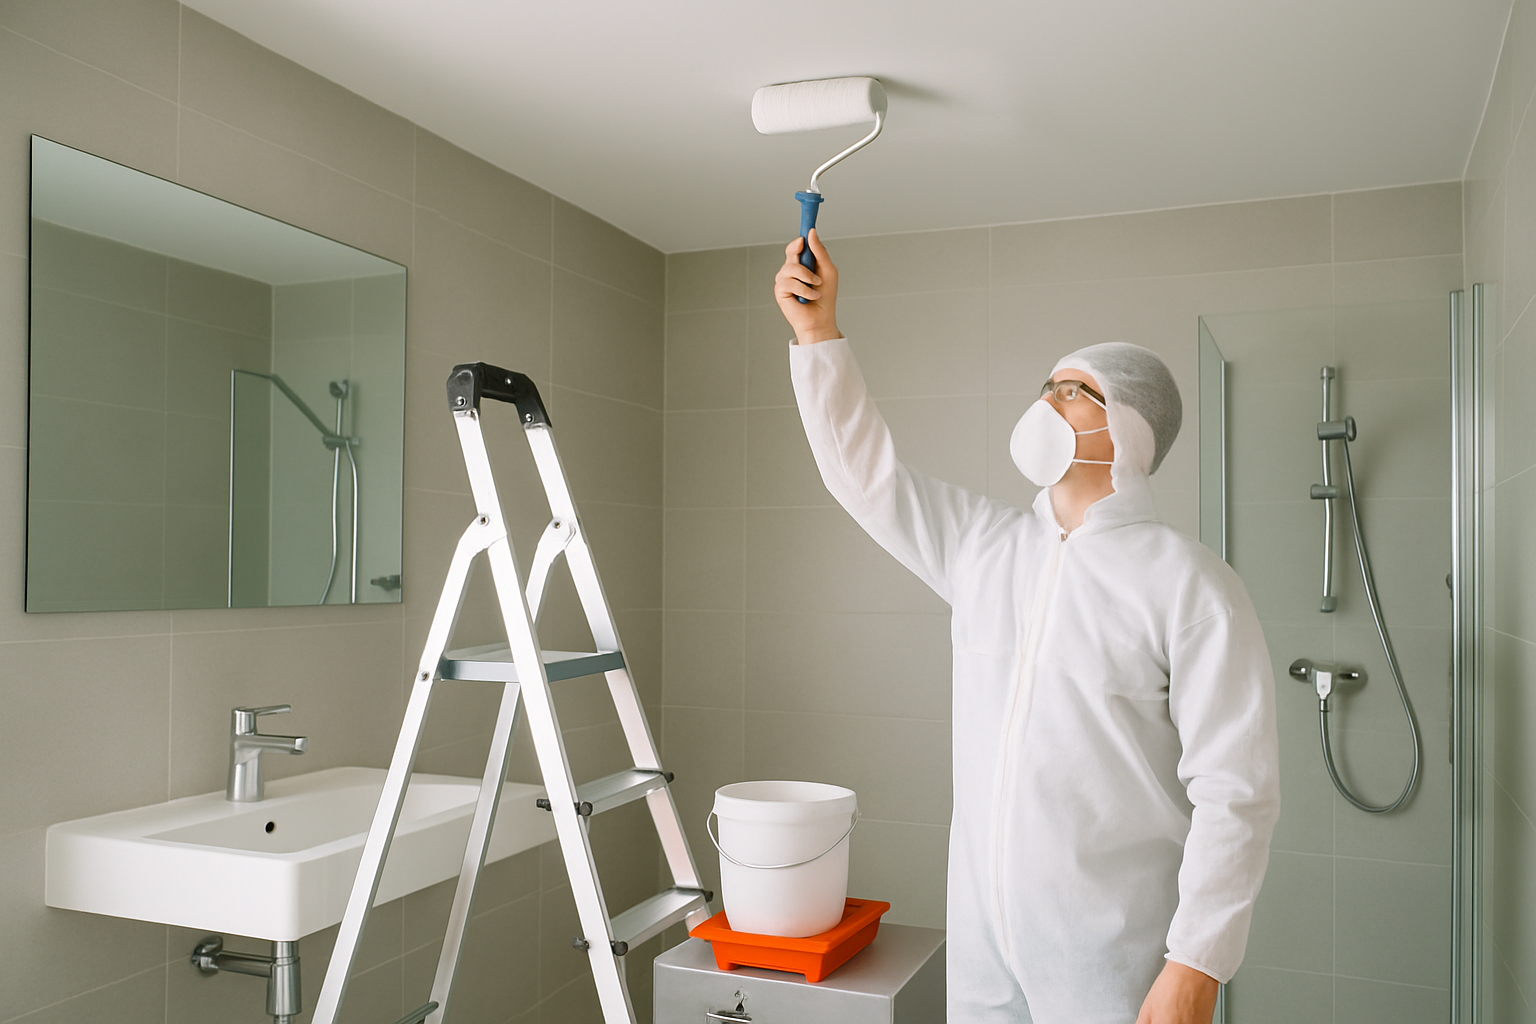
A Handy Guide to Painting Bathroom Ceilings That Actually Helps Keep Mold at Bay
Proper preparation is key to keeping mold from ruining your bathroom ceiling painting party. Begin with a thorough cleaning to banish any mold and grime lurking around. Be sure the surface is bone dry before moving on. Patch up any cracks or damage so you’re working with a smooth canvas.
Give the ceiling a careful once-over for any signs of mold or water damage. If you spot mold, tackle it head-on with a bleach solution or a mold remover—you’ll want to get rid of every trace.
Give the whole surface a thorough scrub with a mild detergent to banish soap scum, dust and grease. It’s a bit of elbow grease but worth it.
Make sure the ceiling dries completely. Trapping moisture under fresh paint is a rookie mistake that’s best avoided.
Grab a suitable patching compound to fill any cracks or holes. Once it’s dry, sand it down until smooth—think of it like smoothing out wrinkles before a big event.
Slather on a good-quality mold-resistant primer evenly. This seals the surface nicely and helps the paint adhere like a charm.
Choose mold-inhibiting paint made specifically for bathrooms and apply it evenly with a roller or brush for a smooth finish.
Patience is key here—let each coat dry thoroughly, usually between 4 to 6 hours, before applying a second layer to lock in coverage.
Keep the bathroom well-ventilated during and after painting. This helps the paint cure properly and defends against future moisture buildup.
Step-by-step process of painting a bathroom ceiling to prevent mold growth
To help your bathroom ceiling paint stick around longer and keep mold at bay, it is a good idea to keep humidity in check by regularly firing up exhaust fans or running a dehumidifier. When leaks or water damage pop up, tackle them quickly before moisture has a chance to throw a party up there. Give the ceiling a little love now and then with a gentle, non-abrasive cleaner to sweep away dust and those pesky mildew spores.
Frequent Mistakes to Watch Out for When Painting Bathroom Ceilings (So You Don’t End Up Scratching Your Head)
Using regular interior paint instead of mildew or mold-resistant types usually invites mold sooner than you would like.
Skipping the primer step often backfires because the paint clings poorly and does a half-baked job at keeping mold at bay.
Painting over a dirty or damaged ceiling without cleaning and fixing it can lead to a patchy finish and might trap mold spores under the surface.
Forgetting proper ventilation while painting and drying drags out the process and sets the stage for mold to make itself at home.
Slapping on paint too thickly might seem like a shortcut but it tends to crack and peel leaving your ceiling exposed and vulnerable to moisture trouble down the line.
Top Mold-Resistant Paint Brands That Really Shine on Bathroom Ceilings
A number of reputable brands whip up paint formulas specifically designed to fend off mold and mildew in those tricky, humid spots like bathrooms. These specialized paint for bathroom ceilings come packed with antimicrobial additives that really do help keep things protected for the long haul. Prices might vary here and there, but opting for a product made especially for this purpose usually gives you the best mold resistance.
Benjamin Moore Aura Bath & Spa stands out with its strong mildew resistance and a wonderfully smooth finish that holds up well in those steamy, humid spots we all know and love.
Zinsser Perma-White is a self-priming paint designed to keep mold and mildew away. It is a solid, no-fuss choice for bathrooms.
Behr Premium Plus Ultra not only looks good but also offers antimicrobial benefits and a tough, washable surface that is ideal for handling everyday messes.
Sherwin-Williams ADVANCE provides a rugged, long-lasting finish with built-in mold resistance. It is perfect for ceilings that need extra protection.
Kilz Mold & Mildew Resistant Paint acts as a multifunctional solution by combining primer and stain blocker to protect surfaces regularly exposed to water, keeping your space fresh and safe.
FAQs
Can I just use any regular interior paint if I add a mold-resistant primer?
A mold-resistant primer definitely sets a solid base but it’s not a magic bullet that replaces bathroom-specific paint. Paints designed for bathrooms usually contain mildewcides and have a higher resin content to better stand up to moisture. If you use regular paint over just a primer, you might end up with peeling or mold over time—bathrooms can be real moisture magnets after all.
How long does mold-resistant paint typically last on a bathroom ceiling?
With the right application and ventilation, a good mold-resistant paint usually lasts 3 to 5 years before needing a refresh. How long it lasts depends on humidity levels. Running an exhaust fan regularly helps a lot. Watch for signs like discoloration, peeling or early mildew—those are your cues it’s time to roll on a new coat.
Is it absolutely necessary to use a primer before painting the ceiling?
Absolutely yes, a mold-resistant primer is your best friend. It seals the surface, helps the paint cling better and adds a important antimicrobial layer. Skipping primer—especially if you’re painting over stains or patches—can lead to paint failure and reduce its mold-fighting powers.
What is the most important step to prevent mold after I have painted?
Proper ventilation really takes the cake. Keep the bathroom exhaust fan running during showers and for at least half an hour after to kick out steam and humidity. Also, wiping down wet surfaces and fixing leaks quickly makes a huge difference. Even the fanciest paint can fail if moisture sticks around, so keeping air flowing is key.
Are expensive specialty mold-resistant paints worth the extra cost?
In places with a lot of moisture like bathroom ceilings, splurging on specialty mold-resistant paint usually pays off. These paints have stronger mildewcides and tougher washable finishes. They last longer and reduce frequent repainting, not to mention helping you avoid the health problems mold can bring—so over time, it’s a smart way to save money and hassle.