This guide dives into specialized tools and techniques crafted to take your weaving projects from good to genuinely impressive.
Dive into advanced tools like boat shuttles and temples that can seriously up your weaving game by boosting speed and quality—no kidding.
Get comfortable with warping boards and tension devices that help you nail precise and consistent results every time, sparing you those frustrating do-overs.
Uncover key materials and accessories that perfectly complement your tools and make it a lot easier to finish your projects like the pro you’re aiming to be.
Learn practical tips for handling common headaches like uneven tension and tool compatibility so you can keep your creative flow rolling smoothly.
Weaving is a timeless craft but if you stick only to the basic tools you might find your creativity hitting a wall and your progress slowing. Once you branch out and bring more advanced tools into the mix you can really start to polish your technique. You can also take a stab at intricate patterns that always seemed out of reach.
A Closer Look at the Essential Tools for Weaving
It’s always best to get a solid handle on the weaving basics. Think of the loom as your trusty skeleton that sets up the framework. Then you’ve got the shuttles, little workhorses that carry the weft thread back and forth through the warp. Heddles might sound fancy but they’re just the parts that lift the warp threads to form those key sheds. And of course the warp threads create the sturdy vertical foundation for your whole weave to sit on.
Specialized Weaving Tools to Take Your Craft to the Next Level
Once you start feeling more confident, specialty tools can really step up your weaving game, making the process easier and more detailed. We are talking about shuttles for different yarn weights, weaving combs that help you pack the weft tight, warping boards to set up accurate warps without effort, temples that keep your fabric width steady, and tension devices that maintain consistent tension throughout your weaving.
Boat shuttles really help carry the weft along smoothly and give the whole weaving process a nice little boost in speed.
Stick shuttles usually shine when you are working with lightweight or fine yarn projects—they just seem to fit the bill perfectly.
Weaving combs and beaters come into play when you need to pack that weft down tight, resulting in a fabric that feels nice and firm under your hands.
Warping boards and pegs are like your trusty measuring buddies, letting you prep and size your warp threads with spot-on precision.
Temple tools do a great job holding the fabric edges steady, keeping that width even and stopping any pesky draw-in from ruining your work.
Adjustable loom stools? They’re a lifesaver for comfort and posture, especially when your weaving sessions stretch into the longer hours.
Tensioning devices help keep the warp threads at just the right tension, steady as she goes.
Pick-up sticks and patterning tools step in to make crafting those trickier, more intricate designs feel a whole lot easier and more fun.
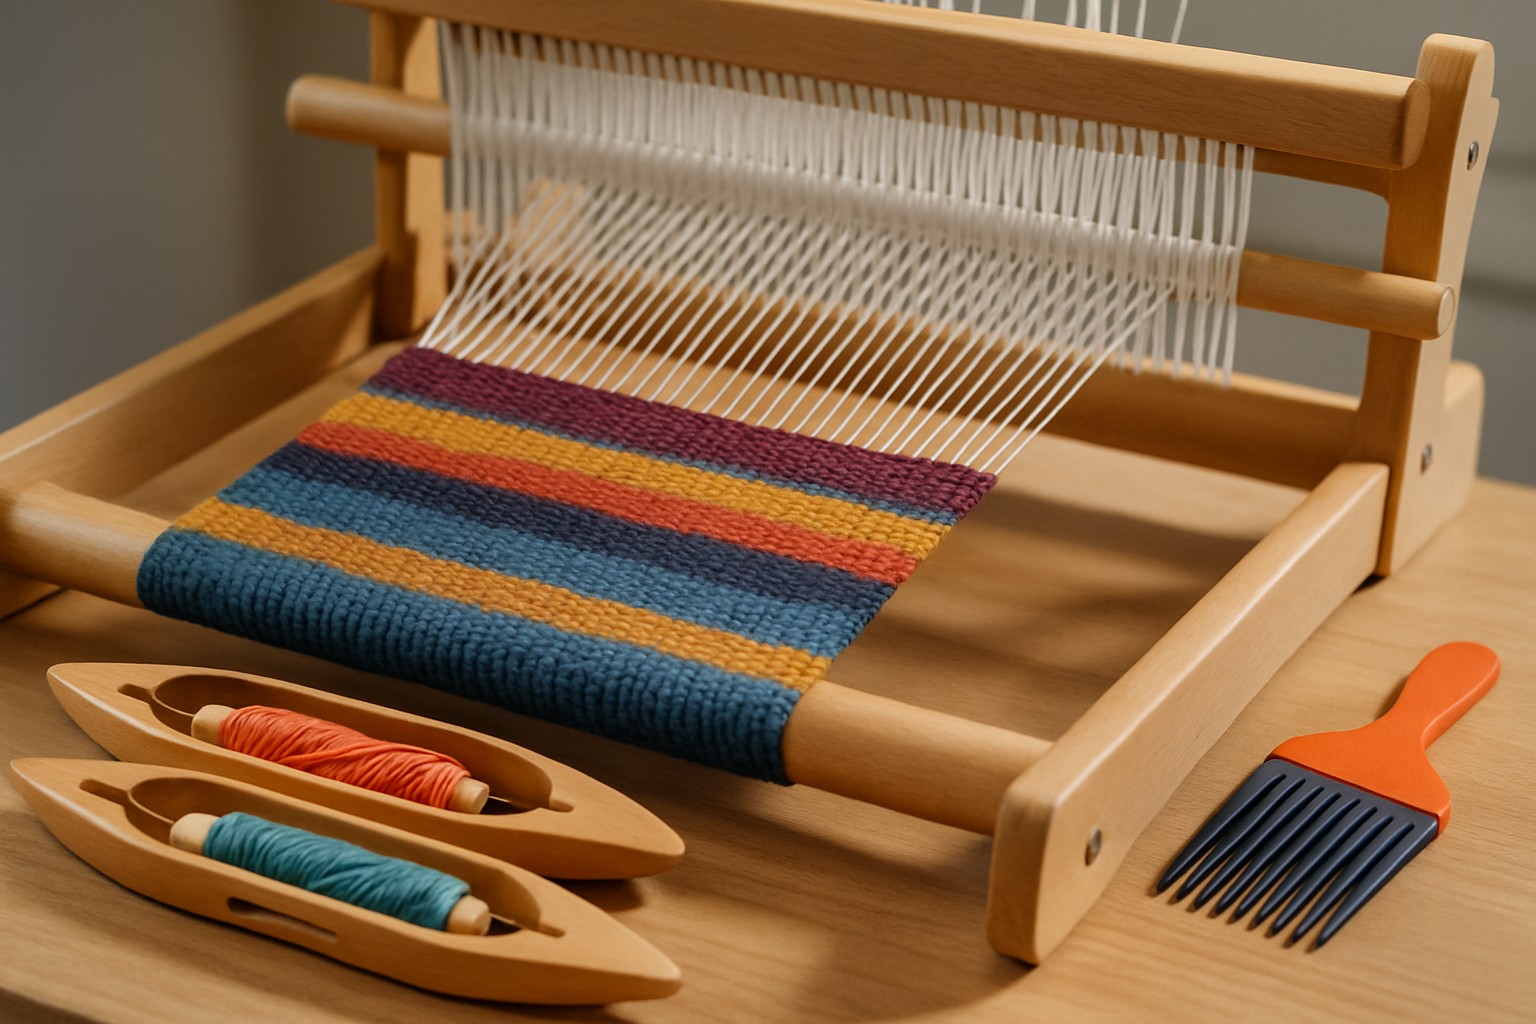
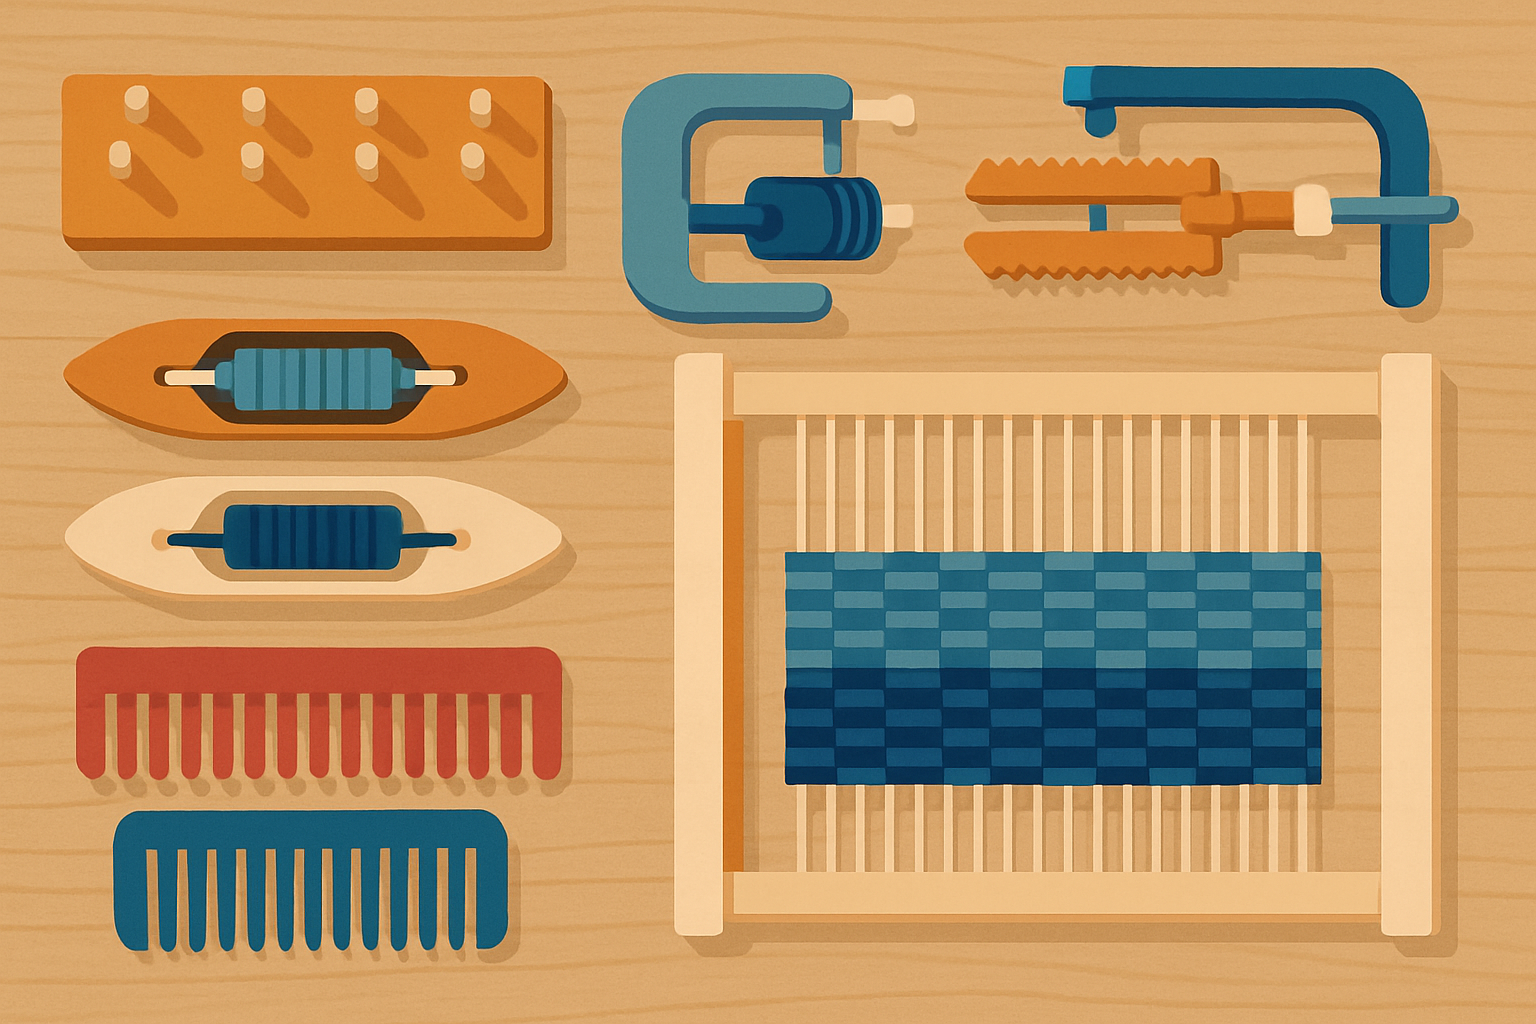
An assortment of advanced weaving tools laid out on a wooden table, illustrating options beyond basic weaving equipment.
Tips for Getting the Most Out of Each Tool
Sometimes it feels like these tools have a mind of their own, but with a little know-how, you can really make them work for you. Let’s dive in and uncover some handy tips that’ll help you squeeze every bit of value without breaking a sweat.
Using advanced weaving tools can really give your work a leg up, improving both quality and speed in ways you might not expect. Getting the hang of setting them up right and keeping them in tip-top shape truly makes all the difference. Whether you’re prepping your warp on warping boards or dialing in tension with temples, each tool demands a bit of TLC to dodge common pitfalls and keep everything running smoothly.
Get your warp threads ready on a warping board taking your time to measure and wind them carefully—keeping those lengths spot on and the tension just right really pays off.
Once you’ve got your warp stretched on the loom, pop on the temple tools and tweak their width so they hold your fabric steady and prevent those annoying side pulls that can spoil the whole thing.
When you’re weaving with a mix of colors or textures for the weft, juggle multiple shuttles and aim for smooth graceful passes. This helps you dodge pesky snags that might throw you off your rhythm.
After each pass of the weft, grab a weaving comb or beater and give the yarn a good even pack. This little trick is key to building a tight consistent weave that feels just right under your fingers.
Keep an eye on your warp tension often with tension devices and don’t hesitate to make small adjustments along the way to maintain a nice even fabric density from start to finish.
Materials and Accessories That Pair Like a Dream With Your Weaving Tools
Materials and accessories matter just as much as the tools themselves when it comes to weaving. Choosing quality yarns and the right thread conditioners and having precise measuring tools on hand can seriously elevate both your process and the final masterpiece.
Cotton, wool, silk or linen to really get a feel for how texture and weight can shift the whole vibe.
Thread conditioners that help keep your yarn from snapping and give it a smooth glide; definitely a lifesaver when you’re deep into a project.
Scissors and snips designed for cutting fabric and fibers cleanly because dull blades are the villain of every crafter’s story.
Measuring tapes or rulers are a must to nail those precise warp and weft dimensions with no guesswork allowed.
Yarn winders for whipping up neat, easy-to-handle yarn balls or cakes. Tangled messes are the last thing you want.
Storage bins and organizers to keep threads, shuttles and tools all lined up and ready to go because chaos is great in life but not in your craft space.
Tips and Tidbits for Finding the Best Tools for Your Weaving Project
Choosing the right tools really comes down to the complexity of your project and the kind of finish you are aiming for plus the type of loom in your workspace. Beginners often kick things off with simple shuttles and weaving combs—nothing too fancy to start with. Meanwhile, those diving into more advanced projects usually reach for specialized tension devices and patterning tools made for their loom.
Tool
Best Use Case / Project Type
Compatibility with Loom Types
Skill Level Recommended
Approximate Cost
Boat Shuttle
Works like a charm with medium to thick yarns, speeding up your weaving sessions
Compatible with floor, table, and rigid heddle looms
Perfect for anyone from beginners dipping their toes to seasoned weaving pros
$15 - $40
Stick Shuttle
A go-to for fine threads and lightweight fabrics that need a gentle touch
Mainly pairs well with smaller and frame looms
Friendly to beginners who want to get started without fuss
$10 - $25
Warping Board
Ideal for carefully measuring and setting up your warp threads without any hassle
Quite versatile and typically used off the loom
Great for all skill levels, whether you’re testing the waters or a warp wizard
$30 - $60
Temple
Keeps your fabric width nice and consistent, so you avoid those pesky narrow spots
Designed mainly for floor and table looms
Best suited for weavers who’ve moved past the basics and want a smoother finish
$40 - $70
Weaving Comb
Handy for packing the weft tightly, avoiding those loose, floppy areas
Works with just about any loom type
Fits the bill for beginners right up to the advanced crowd
$10 - $30
Tension Device
Keeps that warp tension just right, so your fabric doesn’t go all wonky
Mostly compatible with rigid heddle and floor looms
A smart pick for intermediate weavers aiming for that perfect pull
$25 - $60
How to Keep Your Weaving Tools in Good Shape (Because Nobody Likes a Squeaky Loom)
Taking good care of your weaving tools helps them last longer and keeps them humming along at their best. By regularly cleaning them, making sure the moving parts stay lubricated and storing them properly, you’ll sidestep damage.
Give your wooden tools a gentle once-over with a soft cloth and a splash of mild soap to whisk away dust and oils without affecting that lovely finish.
A little love goes a long way. Lightly oil the moving parts of shuttles to keep them gliding smoothly and prevent any annoying sticking moments.
Store your warping boards flat or hanging up since they’re finicky and dislike warping or cracking as much as you do.
Keep those warping pegs happy by storing them dry and away from direct sunlight so they don’t crack under the pressure.
Make it a habit to check your equipment regularly. Catching wear or damage early can save you a headache down the road.
Common Challenges You Might Run Into with Advanced Weaving Tools
Introducing new tools can occasionally throw a wrench in the works with things like incorrect tension or compatibility hiccups, especially when considering what do you use for weaving. Knowing these potential pitfalls and tackling them head-on early on can save you a heap of trouble later.
Tension that is off-kilter can cause uneven fabric. It is a good habit to check and tweak those tension devices regularly. Small adjustments make a big difference.
Shuttle jams often happen when the shuttle size and yarn thickness do not match. Testing compatibility before weaving usually prevents problems.
Mistakes during warping such as uneven winding can be avoided by carefully measuring and counting warp threads on the boards. Taking extra time and patience really pays off.
Inconsistent beating or uneven pick density often occurs when weaving combs are not used carefully or if your rhythm varies. Keeping a steady beat truly helps.
Tools that don’t fit your loom style can cause issues. It is wise to double-check compatibility first to avoid mismatches later.
FAQs
Are advanced weaving tools necessary for a beginner, or should I master the basics first?
It is best to get a solid grip on the basics first. Advanced tools shine once you are comfortable handling fundamental skills like warping and managing tension—think of those as the building blocks. Grabbing a trusty weaving comb or a second type of shuttle early can give you a leg up but those fancier gadgets like temples or intricate tension devices usually make more sense once you’re tackling intermediate or advanced projects.
What is the single most impactful advanced tool I should consider adding to my setup?
A temple tool honestly makes a surprising difference. It hooks onto fabric edges to keep the width steady and stops those pesky sides from pulling inwards. This straightforward little gem can boost the look and feel of your finished weave and gives it a neat professional edge with even selvages. I have found it’s one of those tools that quietly works wonders once you try it.
How do I know which type of shuttle to use for my project?
When choosing a shuttle, think about the yarn you’re working with. A boat shuttle with a bobbin is great for smooth continuous weft with standard yarns—it’s like the reliable workhorse in your toolkit. But if you’re wrestling with bulkier yarns or detailed colorwork that demands frequent changes, a stick shuttle often proves easier to handle and reload—like a trusty sidekick for trickier tasks.
Is it worth building a dedicated warping board, or are there alternatives?
If weaving will be a regular thing, investing in a warping board can pay off in accuracy and efficiency. On the flip side, if you’re an occasional weaver or watching the budget, simple setups using pegs or nails on a sturdy board or the back of a chair can get the job done. That said, a proper warping board usually offers better precision for longer warps. It’s like upgrading from a tricycle to a bike.
How can I prevent my wooden weaving tools from getting damaged?
Treat your wooden tools like old friends—keep them clean, dry and out of direct sunlight. Wipe them down with a soft slightly damp cloth to brush off dust and oils but steer clear of harsh chemicals that can do more harm than good. Store them flat or dangling to avoid unwanted warping. If you’ve got tools with moving parts like boat shuttles, a light coat of furniture wax can help them glide smoothly like butter on hot toast.