Visual Creation
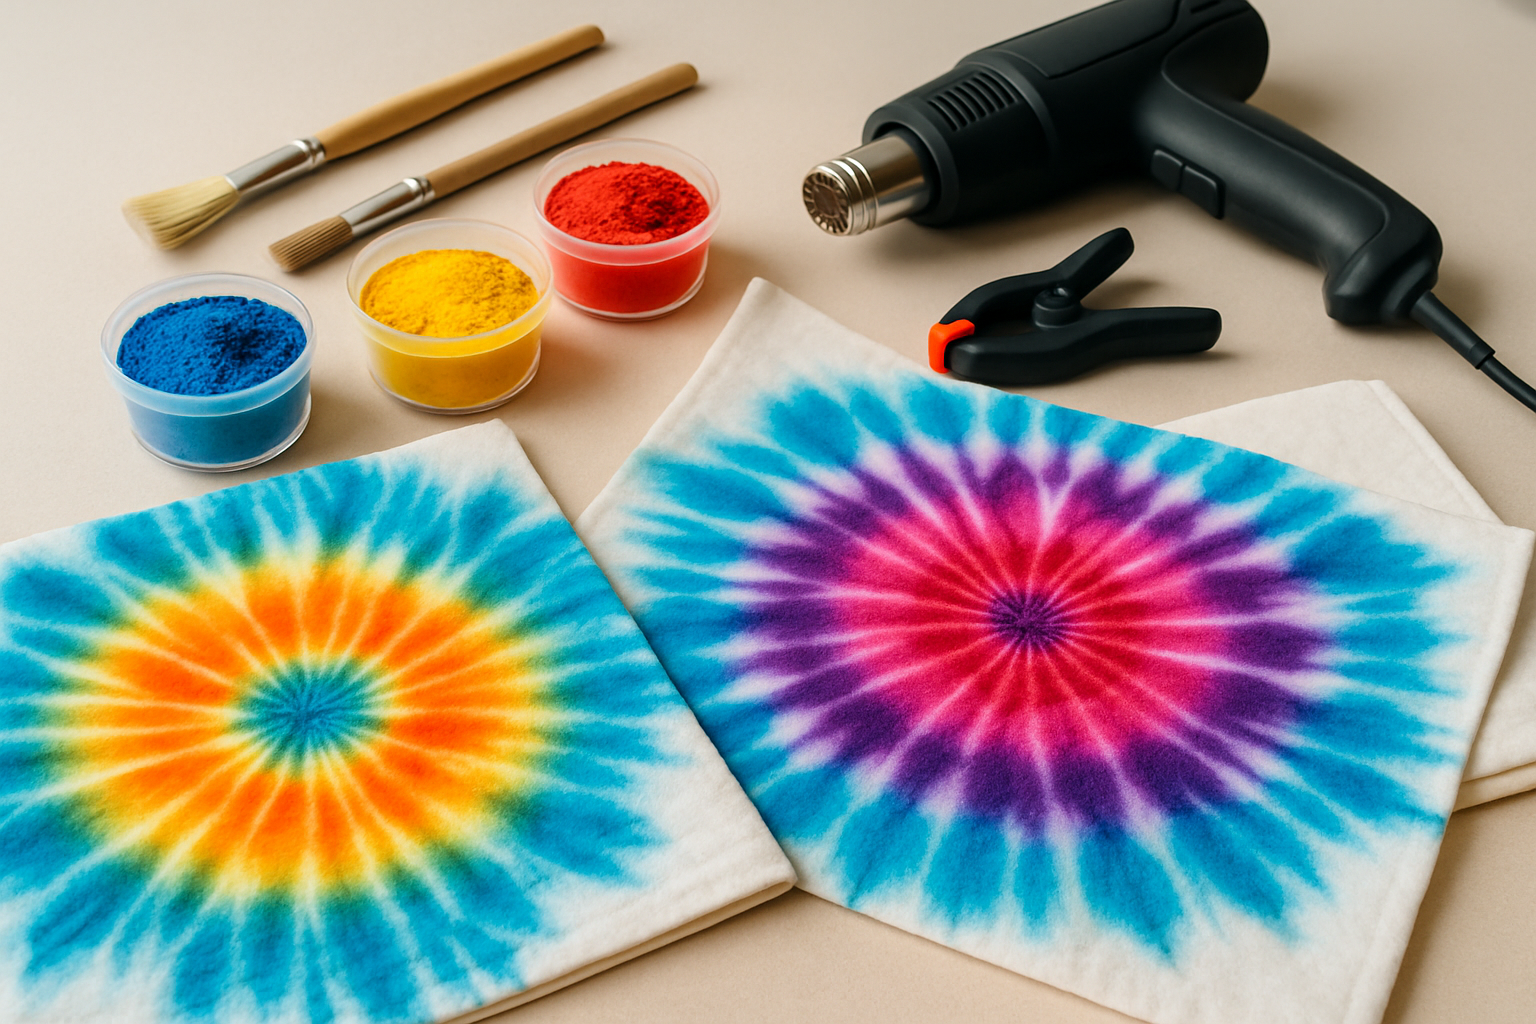
Dry Tie Dye Techniques That Actually Work Well
Discover how dry tie dye transforms fabric decorating with less mess and faster drying. Try proven t...
When choosing stuff to put in resin, you can transform everyday items into stunning keepsakes or pieces of art that catch the eye. One challenge many face is picking materials that won’t fade or develop bubbles over time because that can mess with the clarity and durability of your creation. This guide covers the best types of items to embed, from dried flowers that hold their charm to metallic flakes that shimmer. Each is chosen because they keep their color and shape without fuss.
Not all inclusions play nice with resin's chemical makeup and curing process. Some materials have a knack for losing their brightness or fading when UV light gets cozy, while others might release a bit of moisture that leads to pesky bubbles—affecting not just their appearance but also their staying power over time.
Fading usually happens because UV light breaks down pigments in organic materials or photosensitive dyes. It is like sunlight slowly wearing down the colors you once loved. Bubbling tends to pop up when moisture gets trapped or air pockets sneak in during pouring. It can also occur when incompatible materials release gases as they cure.
Choosing materials that resist fading is absolutely important if you want your resin pieces to stay bright and clear over time. I’ve found it’s best to go for materials that either naturally shrug off UV damage or have been specially treated to hold their pigments steady.
Careful preparation is absolutely key to dodging fading and those pesky bubbles that love to show up uninvited. When you’re dealing with organic materials, it’s really important to ensure they’re completely dry—pressing them or tossing in silica gel packs usually does the trick. Applying a clear coat or a primer that plays nice with resin creates a great seal on porous surfaces, effectively keeping pigments vibrant and moisture out.
Bubbles that hitch a ride around inclusions can mess with the clarity and quality of resin projects. Getting a handle on those pesky bubbles often means pre-treating your objects to chase away moisture and air pockets, warming the resin and materials to loosen things up, and pouring with patience usually reserved for a slow Sunday morning. A few artists even swear by pressure or vacuum chambers to help shoo out trapped gas.

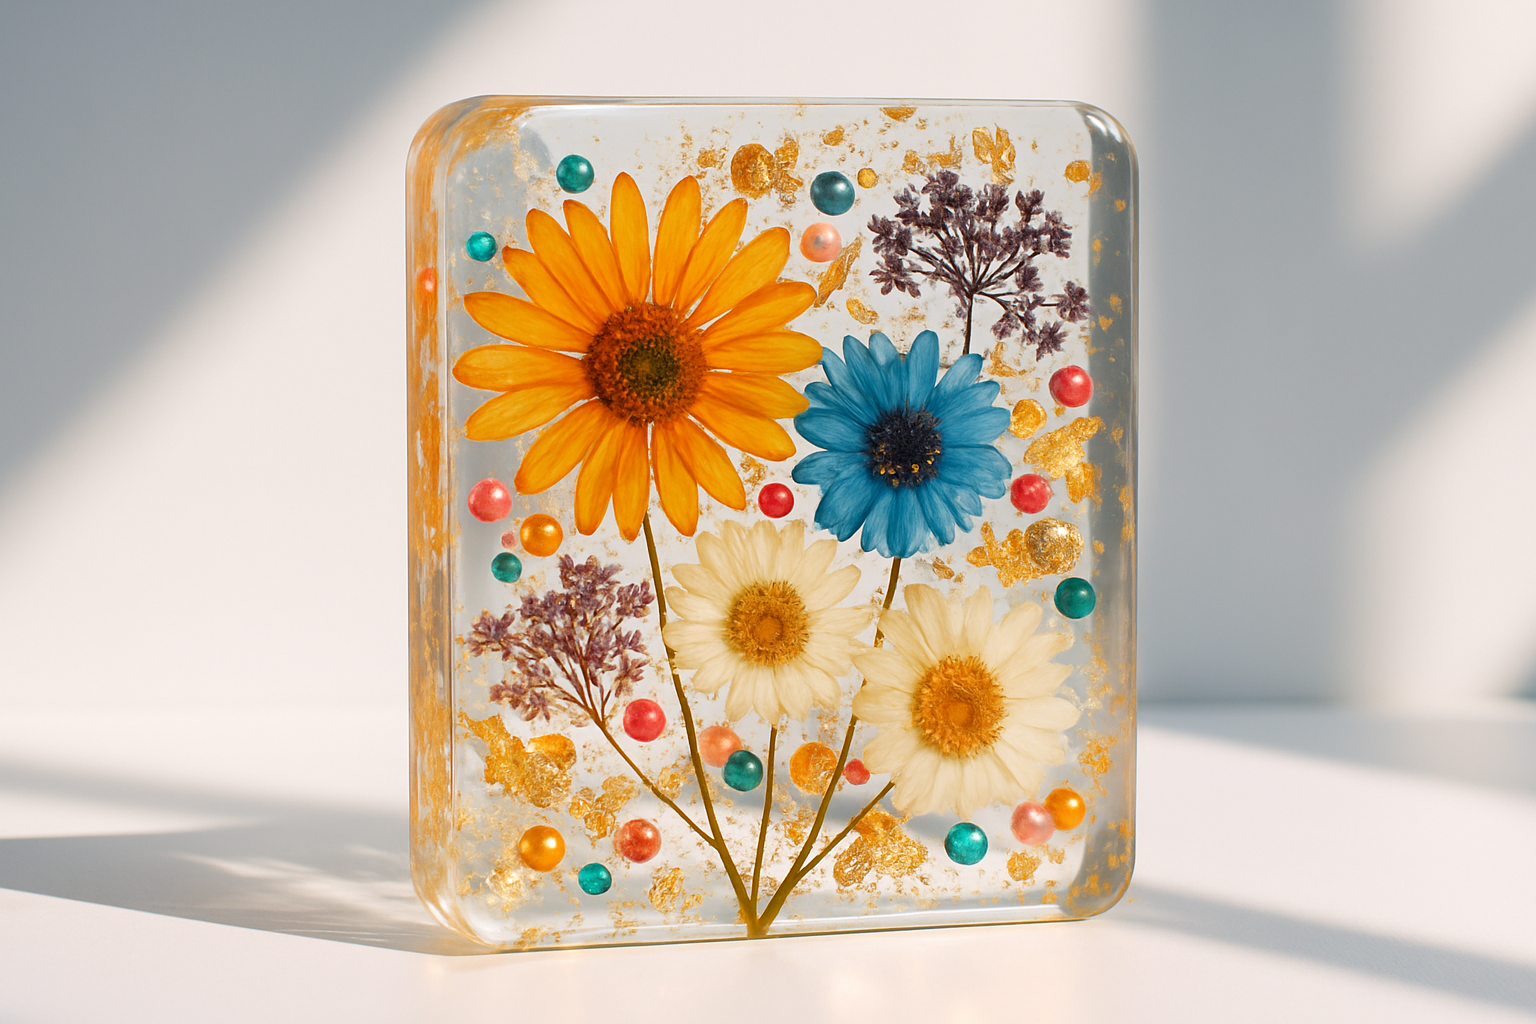
Example of a pristine resin piece showing inclusion clarity and absence of bubbles or fading.
Certain materials like organic matter, fabrics or paper tend to hold onto moisture and react with resin chemically. To prevent fading and bubbling when embedding these items, people use specialized tricks. This usually means applying resin-friendly sealants, ensuring everything is bone dry with silica gel packets, layering the resin in thin coats and testing small samples before proceeding.
| Inclusion Type | Fade Resistance | Bubble Risk | Preparation Tips | Ideal Resin Type |
|---|---|---|---|---|
| Dried Flowers (Properly Dried and Sealed) | High | Medium | Press them well and seal with a clear coat to keep their charm intact | Epoxy with UV inhibitors |
| Metallic Flakes and Powders | High | Low | Make sure your flakes are clean and dry—no moisture allowed | Polyurethane or epoxy |
| Gemstones and Crystals | High | Low | Give them a good dust-off; luckily, no sealing needed | Epoxy or polyester resin |
| Permanently Dyed Beads | High | Low | Be certain there’s no oily residue—rinse and dry thoroughly | Epoxy resin with UV filter |
| Photographs on Resin-Safe Paper | Medium | Medium | Slap on a transparent UV-resistant film and do a test print before diving in | Epoxy resin |
| Organic Matter (Fruits, Herbs) | Low | High | Dry completely using silica gel; sealing is a must to avoid regrets | Epoxy with slow cure |
| Fabric and Textiles | Medium | High | Seal with care and layer several thin coats of resin to keep bubbles at bay | Epoxy resin with UV protection |
Before diving headfirst into a big project and sinking time and materials into it, whipping up a few small test samples with your chosen stuff to put in resin can really save the day. It helps catch pesky issues like fading or bubbles early on, before they become full-blown headaches.

Driven by a passion for historical mysteries, Sterling investigates forgotten stories and overlooked figures, bringing the past to life with meticulous research and vivid prose.
Read ArticlesDiscover how dry tie dye transforms fabric decorating with less mess and faster drying. Try proven t...

Curious if Colombia grants birthright citizenship? This guide breaks down the country’s legal framew...

Wondering whether gold or silver is more abundant on Earth? This article breaks down their natural o...

Should you paint your brick house or preserve its natural look? Explore the detailed pros and cons t...